
Motor Hall Effect Sensor | PCB Board & Wire | Model 3144/41F/43F

This Hall effect sensor assembly gives your brushless DC motor the feedback it needs for accurate control. It comes with three sensors already on a PCB with wires attached. This makes installation or ...
Good to know
Questions about this product
- What is the purpose of this Hall sensor board in my brushless motor?
- This board detects the position of the motor's rotor magnets as they spin. It sends this information to the motor controller, which helps the controller to power the motor coils in the correct sequence for a smooth start-up and precise speed control.
- Will this work as a replacement for the sensor in my e-bike motor?
- It might, but you need to check a couple of things first. Ensure the physical board size of 1cm x 4.4cm will fit inside your motor housing. You also must match the Hall sensor model number (e.g., 3144, 41F) to the one specified by your motor or controller.
- How is this board installed inside the motor?
- The sensor comes pre-mounted on the PCB with wires attached. You'll need to position the board correctly within the motor's stator, usually in designated slots, and then solder the wires to the corresponding connections for your motor controller.
Hall Effect Sensors spec sheet (PDF)
Get a one-page sheet with full description, specifications, technical details, FAQs, price & SKU - handy to save, print, or share.
Not sure which one?
Compare hall effect sensors
Motor Hall Effect Sensor | PCB Board & Wire | Model 3144/41F/43F

49E Hall Effect Sensor | Linear Magnetic Switch | For Motor Control & Position

KY-003 Hall Effect Sensor | 10 Pack Module | For Arduino & Smart Car Projects

Hall Effect Sensor | Current Sensing Module | 5A, 20A, 30A Ranges

Hall Effect Sensor | ACS758LCB-050B Module | 50A Current Sensing

Magnetic Hall Effect Sensor | NPN Normally Open Proximity Switch

Hall Effect Sensor NJK-5002C | NPN Magnetic Proximity Switch

Effect Sensor 10-Pack | High-Temp Sleeve | 3144/41F for E-Motors

Effect Sensor for Arduino | 3-Pin TO-92 Package | 10-Pack SS41F/A3144
Compare options
More Hall Effect Sensors

Effect Sensor Module | ACS758 for 50A-200A Circuits | Linear Output

Effect Sensor Module | 50A 100A AC/DC Linear Current | Arduino ACS758 Chip

Effect Sensor | Magnetic Pole Discriminator | N/S Pole Detection Module

Hall Effect Magnetic Proximity Switch | NPN PNP Output | Square

Effect Sensor Module | KY-003 for Arduino Projects | Magnetic Switch
Explore the range
Popular in Industrial & Machinery
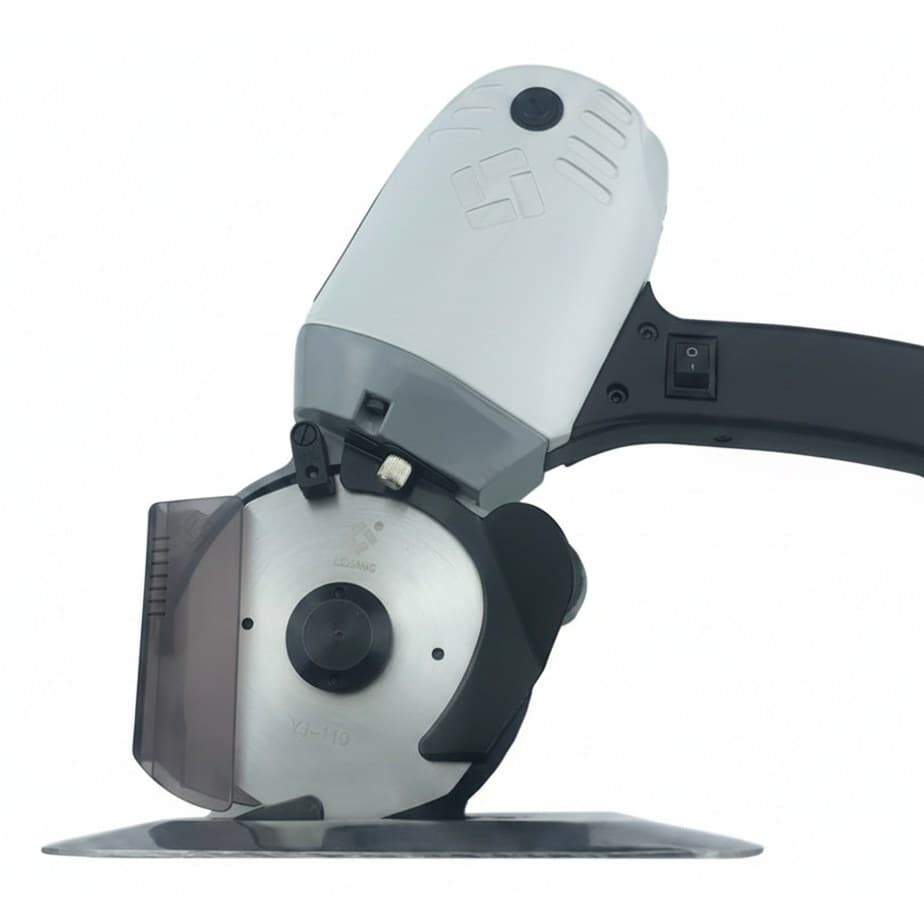
Electric Fabric Cutter | Round-Knife Cloth Slitting Machine | YJ-110C Hand-Push Design
608ZZ Skateboard Bearings | Double Metal Shield | 8x22x7mm 10-Pack

Door & Window Magnetic Sensor | Zigbee Wireless | App Alert Security Alarm
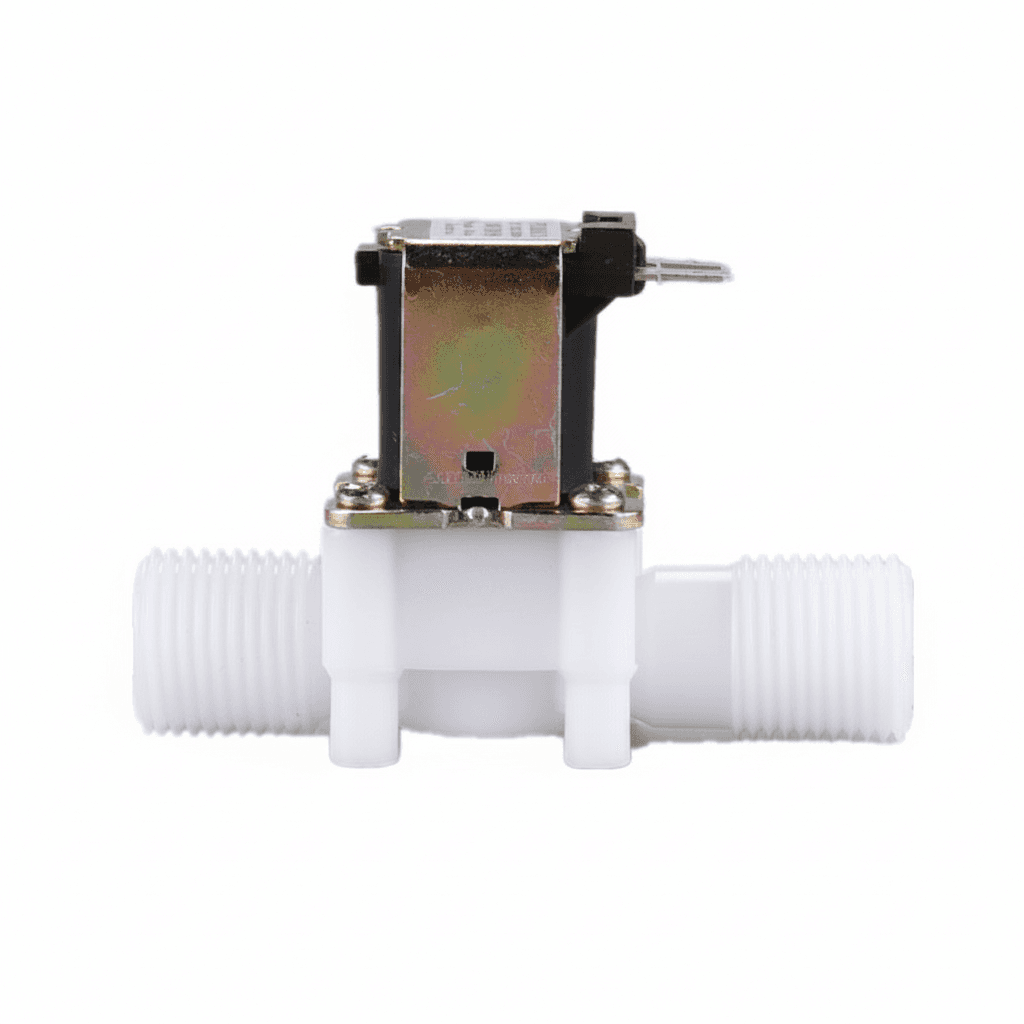
Solenoid Valve | 12V/24V/220V NC | 1/2 & 3/4 for Water & Air
Empty Spray Bottles 200ml | Fine Mist Atomiser | Hair, Plant & Cleaning
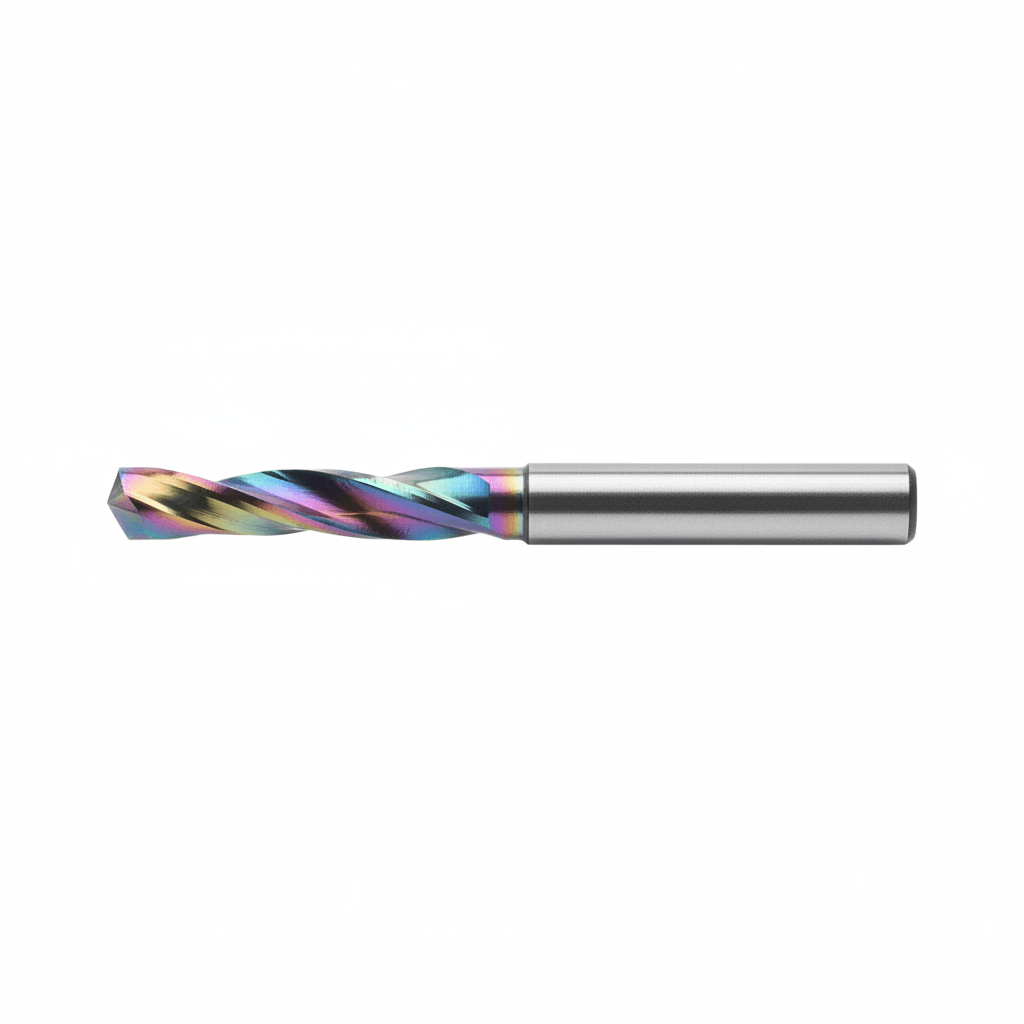
Flute End Mill | Solid Carbide with DLC Coating | For Aluminum CNC
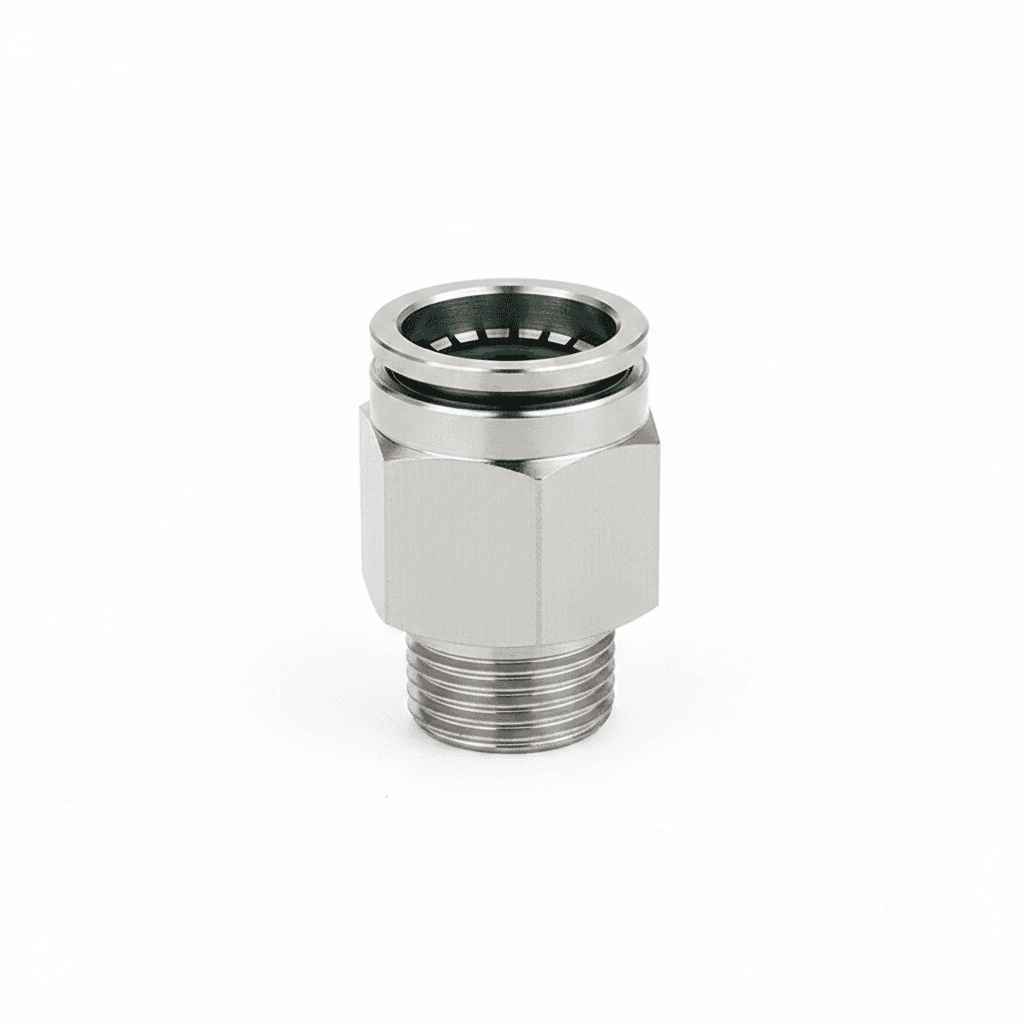
Air Hose Fitting | Quick Release Connector | 1/4 BSPT Thread

Sensor | Waterproof 304 Stainless Steel Probe | 6x30mm 1M Cable
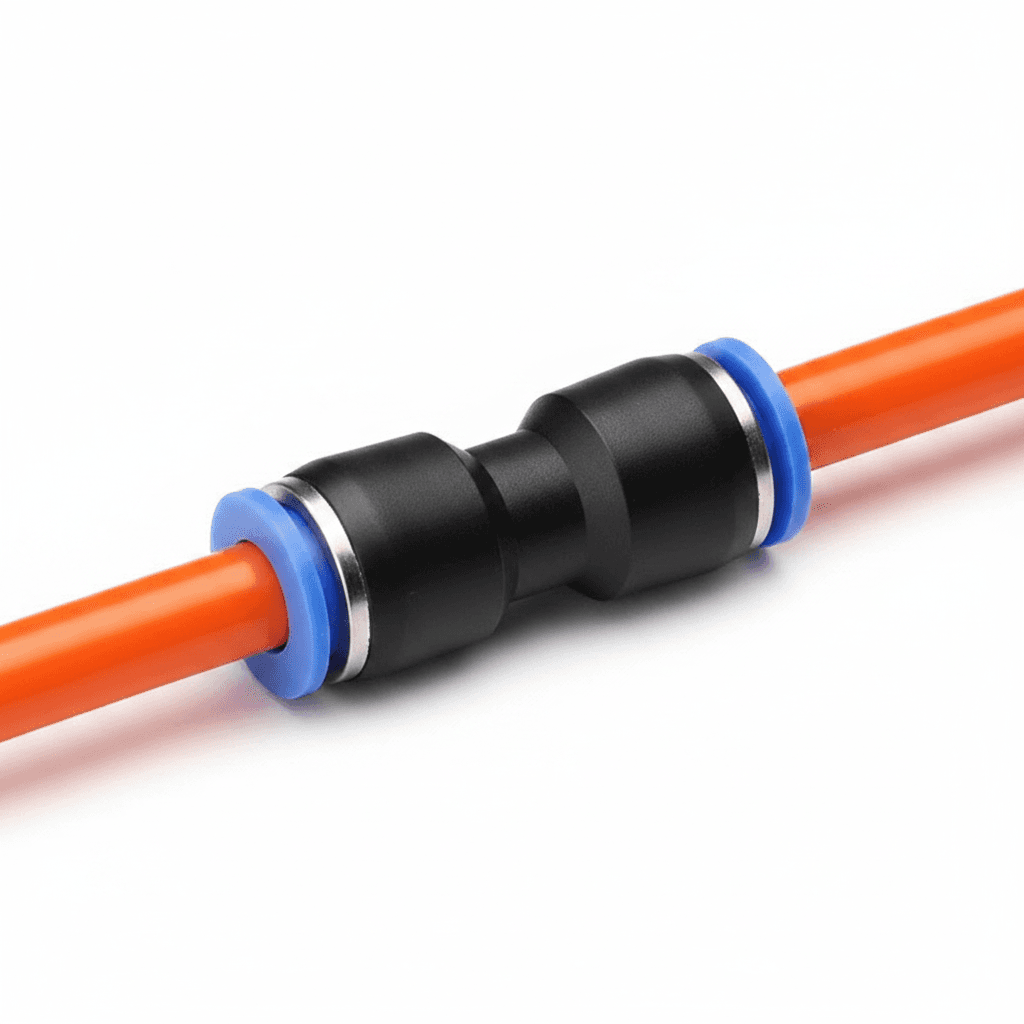
Pneumatic Fitting Push-In Connectors | Air Hose Quick Release | 4-14mm Tube
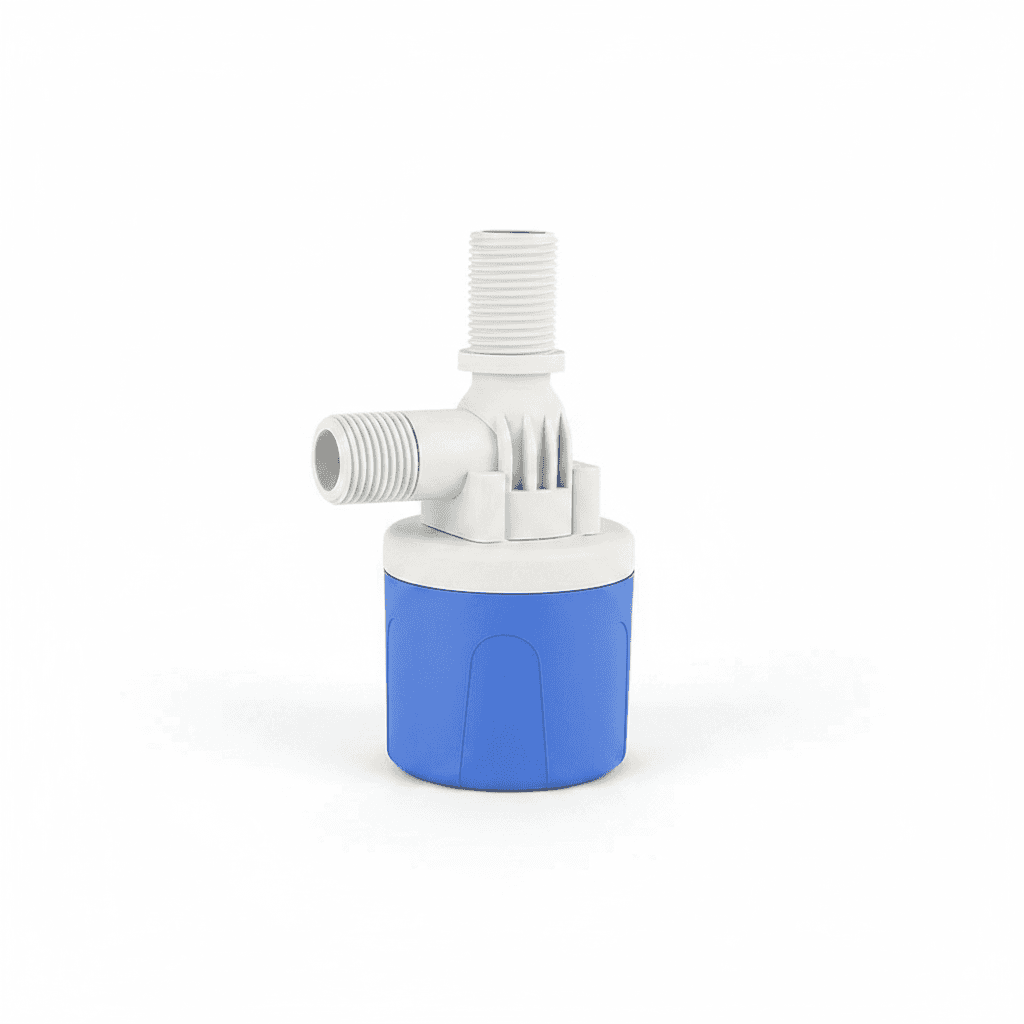
Hydraulic Valve | 1/2 Float for Tank Water Level Control
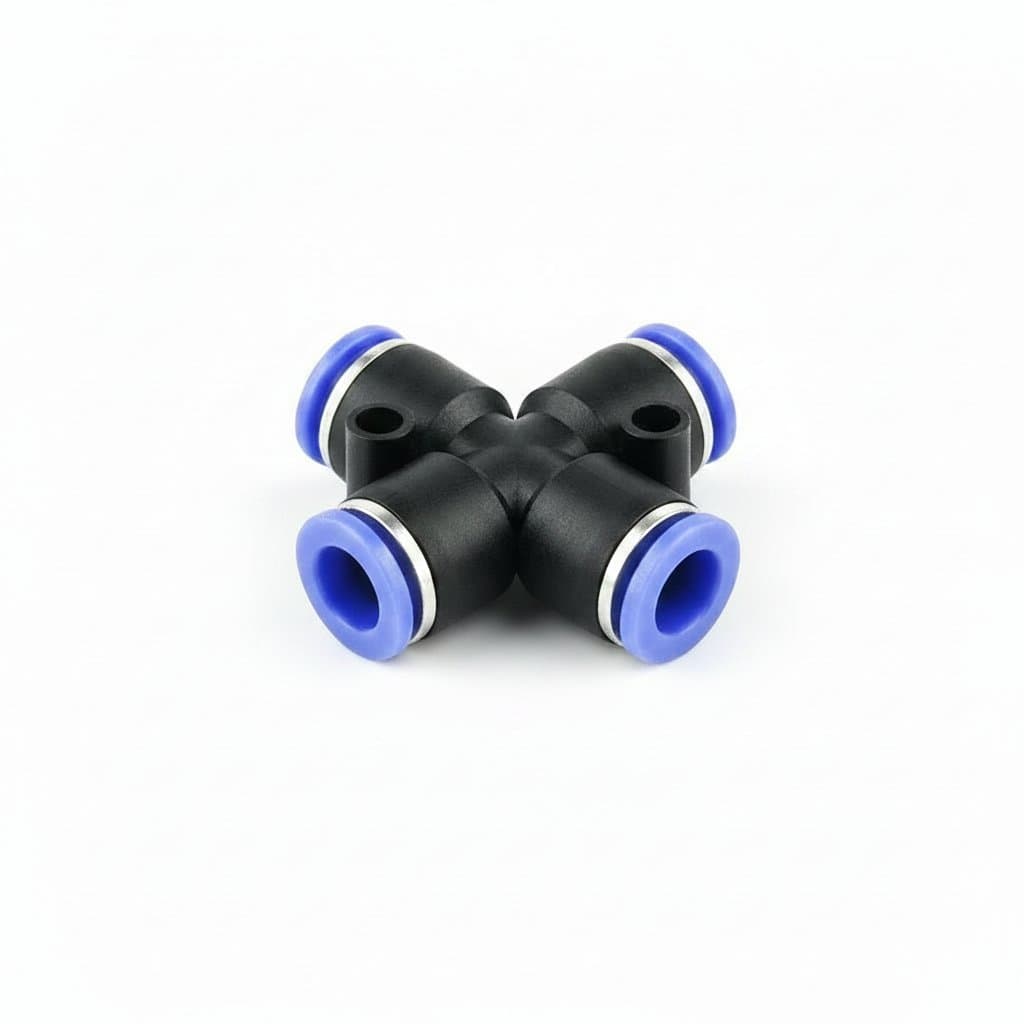
Push-to-Connect Air & Water Fittings | 4mm-12mm OD | Quick-Release Hose Couplings
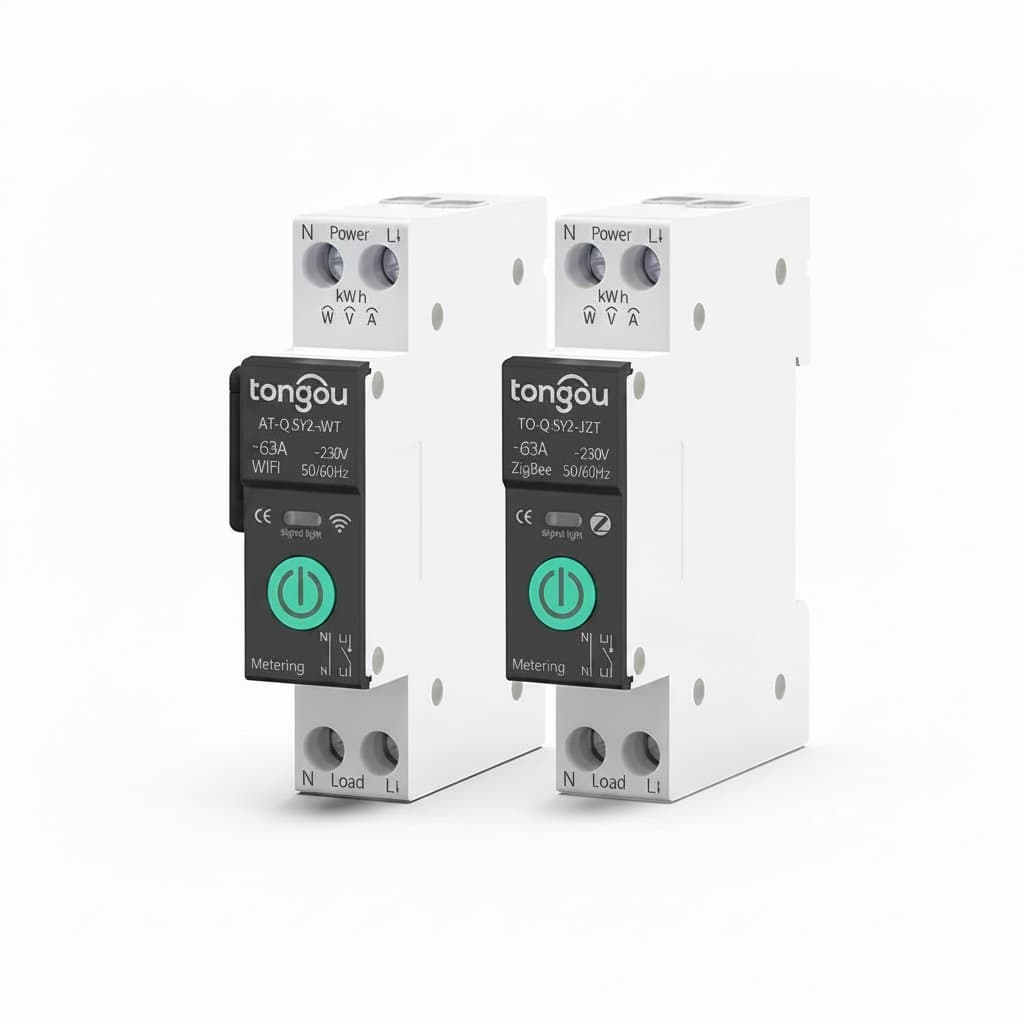
TUYA WiFi/ZigBee MCB Smart Circuit Breaker Over Current Under Voltage Protection Power Metering 1-63A Remote Control Switch
Complete the set
Accessories & add-ons

Sensor Protection Sleeve | Stainless Steel Blind Tube | 6mm

Motion Sensor Bracket | Automatic IR Lamp Holder | 110-240V AC

Soil Moisture NPK Sensor | 7-in-1 Agricultural Probe Accessory

Arduino Raspberry Pi Sensor Kit (45pc) | Modules for UNO R3 MEGA2560

Reflector Plate | Photoelectric Sensor Accessory | TD Series

Load Cell ADC Module | 24-Bit HX711 Sensor Accessory
