
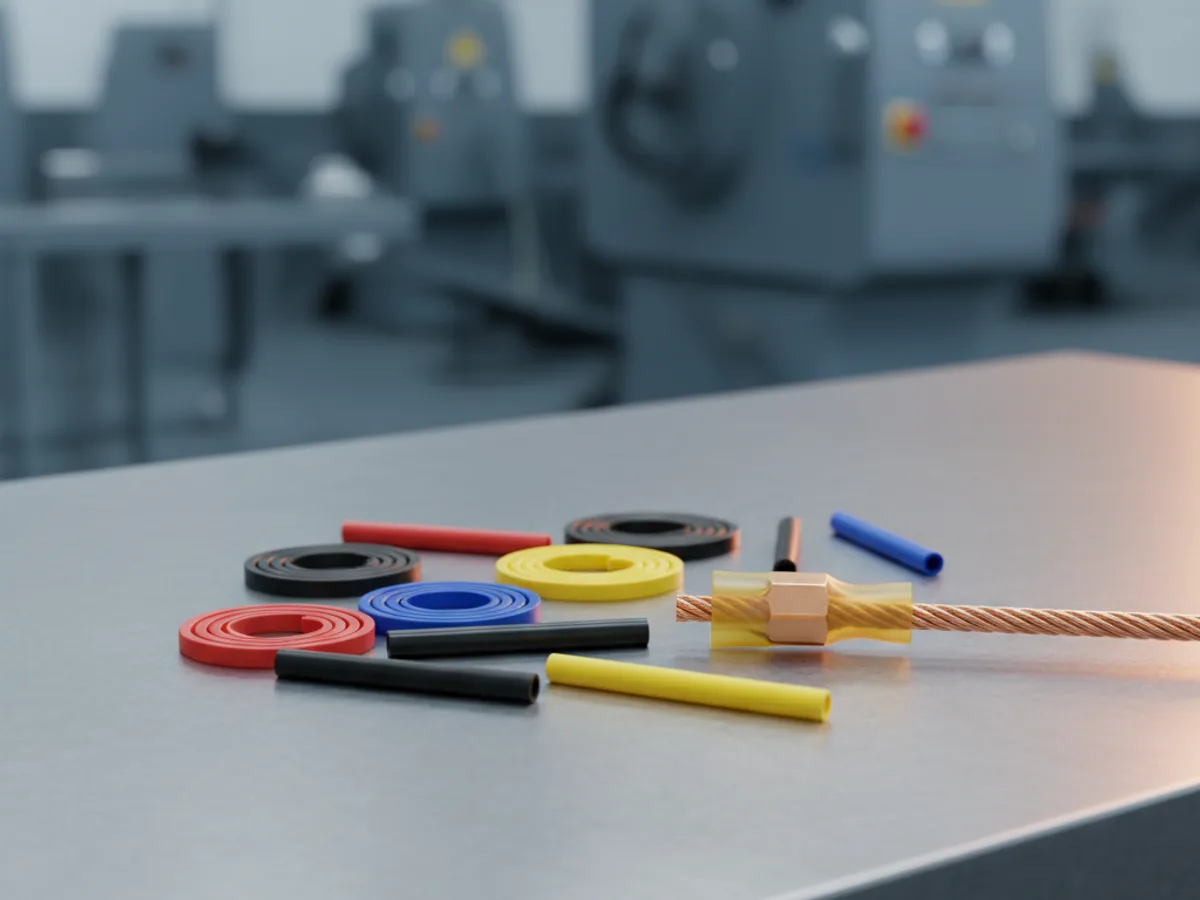


Shrink ratio, and sizing from both ends
The ratio is how far the tube contracts from its supplied size. A 2:1 tube recovers to half its diameter, a 3:1 to a third, a 4:1 to a quarter. That range is the whole reason ratio matters: a higher ratio lets one size pass over a bulky connector and still pull down tight on the thin cable behind it.
Size it against both ends of the job. Take the largest thing the tube must slide over, a crimped lug or a moulded plug, and pick a supplied diameter comfortably larger. Then check the recovered diameter is smaller than the thinnest part it must grip, because tubing that has recovered fully and still stands off the cable has not sealed anything.
Leave the tube slightly oversize rather than fighting it on. Forcing a tube that barely fits stretches it, and a stretched tube recovers unevenly and can split along its length when heated.
| Ratio | Recovers to | Suits |
|---|---|---|
| 2:1 | Half the supplied diameter | Plain cable joins, uniform diameters |
| 3:1 | A third | Over connectors and lugs onto thinner cable |
| 4:1 | A quarter | Large steps, boots over bulky terminations |
Adhesive lined is the only kind that seals
Ordinary single wall tubing insulates and provides strain relief, and that is all. It grips the cable but does not bond to it, so water tracks along the sheath and straight through. For anything outdoors, in a bilge, under a vehicle or buried in a wall, that is not enough.
Adhesive lined tube, often called dual wall, carries a hot melt glue on the inside. As the outer wall shrinks it squeezes the softened adhesive into every gap and out of both ends, and when it cools the joint is bonded and sealed. Seeing a small bead of adhesive appear at each end is the sign that it has worked.
The trade is that it is not reworkable. A dual wall joint has to be cut off rather than slid back, and it needs more heat and a slower approach so the adhesive flows before the outer wall finishes shrinking. For bench work you expect to undo, plain single wall is the sensible choice.
Material, temperature and the flame rating
Polyolefin is the general purpose material and covers most electrical work. It shrinks at a modest temperature, insulates well and resists most fluids. Silicone tube stays flexible in the cold and tolerates far higher continuous temperatures, which is why it appears around engine looms and heaters, at a higher price.
Two figures on the datasheet are worth reading. Dielectric strength, quoted in kilovolts per millimetre, tells you what insulation the wall thickness actually gives. The flammability rating tells you how it behaves in a fire: UL224 VW-1 is the vertical wire flame test, and tube carrying that mark is self-extinguishing rather than a fuse for the flame.
Where the listings state these figures we show them, and where a rating matters for your installation it is worth confirming on the product itself rather than assuming. Not all tube is rated, and unrated tube is fine for a workshop lead and wrong inside a panel.
Applying it without ruining it
Use a heat gun, not a lighter. A flame chars the outside before the inside is warm, leaves soot under the tube and produces a joint that looks shrunk and has not bonded. A gun lets you keep the tube moving through the heat rather than cooking one spot.
Work from the middle outward, or from one end steadily to the other, turning the work as you go. Starting at both ends traps air in the middle, which shows as a bubble that never pulls down and a void that holds moisture.
Stop when it has recovered. Overheating polyolefin makes it brittle and can split it, and on adhesive lined tube it pushes all the glue out of the ends rather than into the joint. The tube should be smooth, tight to the shape underneath, with no shine of scorching.