Why a green beam reads brighter
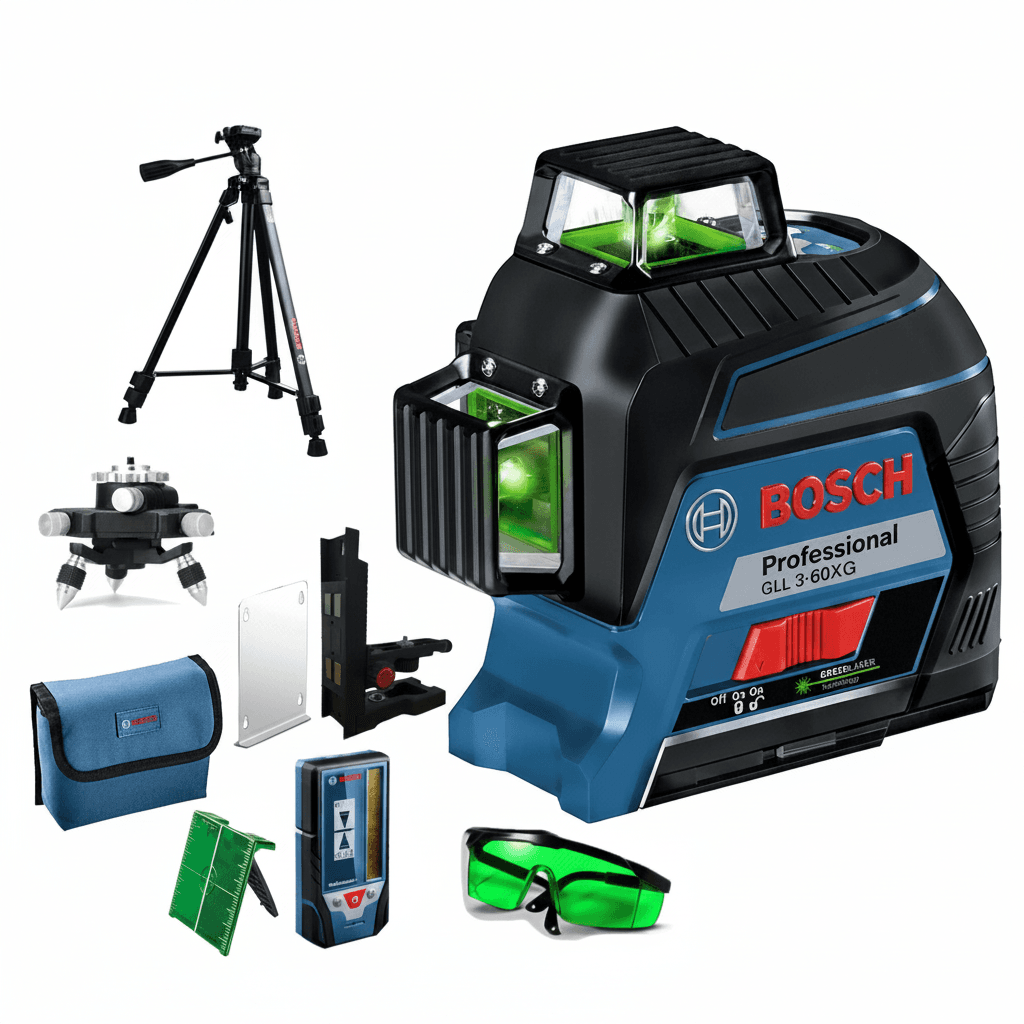
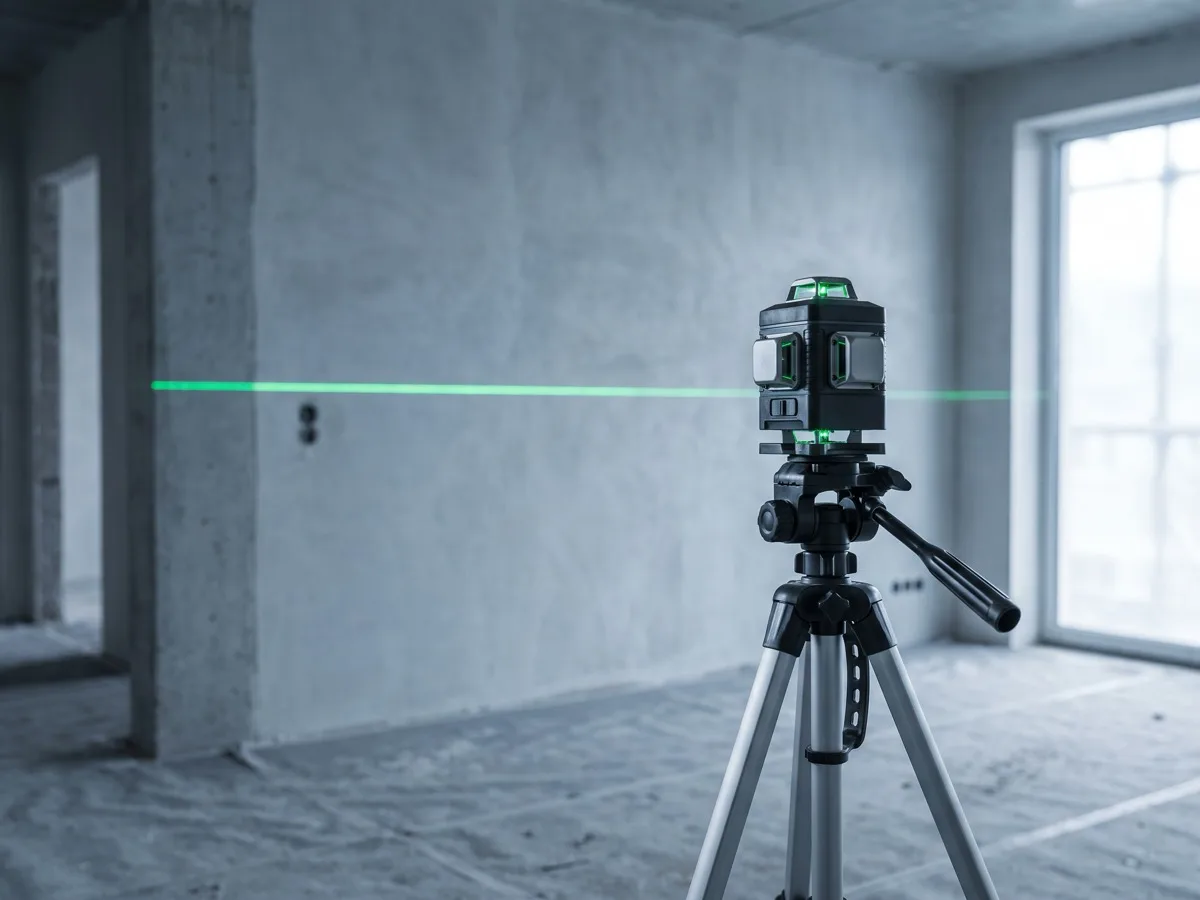
Green and red lasers of the same rated power are not equally visible, because the eye is not equally sensitive across the spectrum. Daylight sensitivity peaks close to 555 nm. A green construction laser sits at 515 to 532 nm, right next to that peak, while a red one sits at 635 to 650 nm well down the curve. The result is a green line that stands out on a grey blockwork wall where a red line disappears.
There are two costs. A green diode draws more current, so runtime on the same battery is shorter, which is why most of the 360 degree tools here ship with a rechargeable pack rather than AA cells. Green diodes are also less happy in the cold, and some units will not start below freezing. If the work is a cold store or an unheated shell in winter, check the operating temperature on the spec table before buying.
Cross line, 360 degree, 3D and 4D
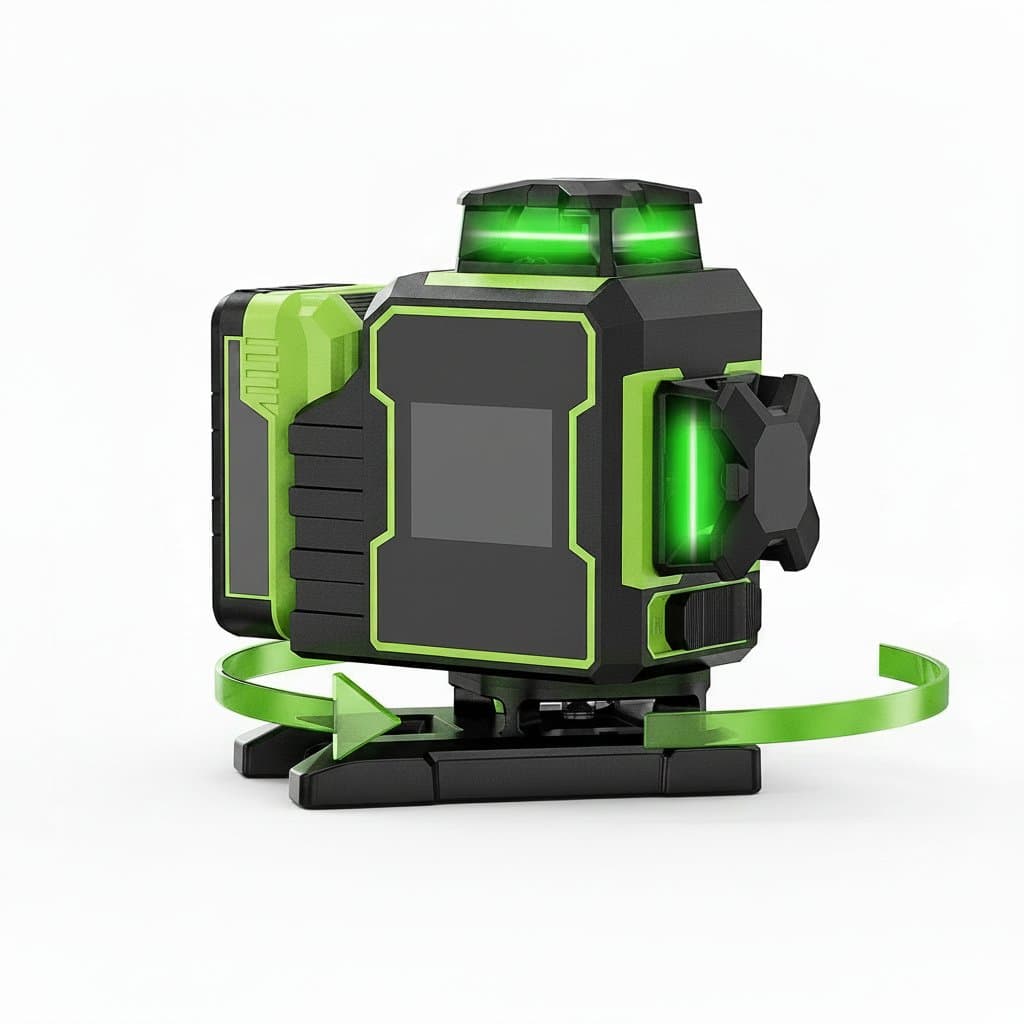
The naming looks like marketing but it describes exactly what the tool projects. A cross line laser throws one horizontal and one vertical line onto the wall in front of it, which is all you need for tiling, shelves, kitchen units and dado lines. A 360 degree tool sweeps its horizontal line right around the room, so a single set-up gives you the same height on all four walls at once.
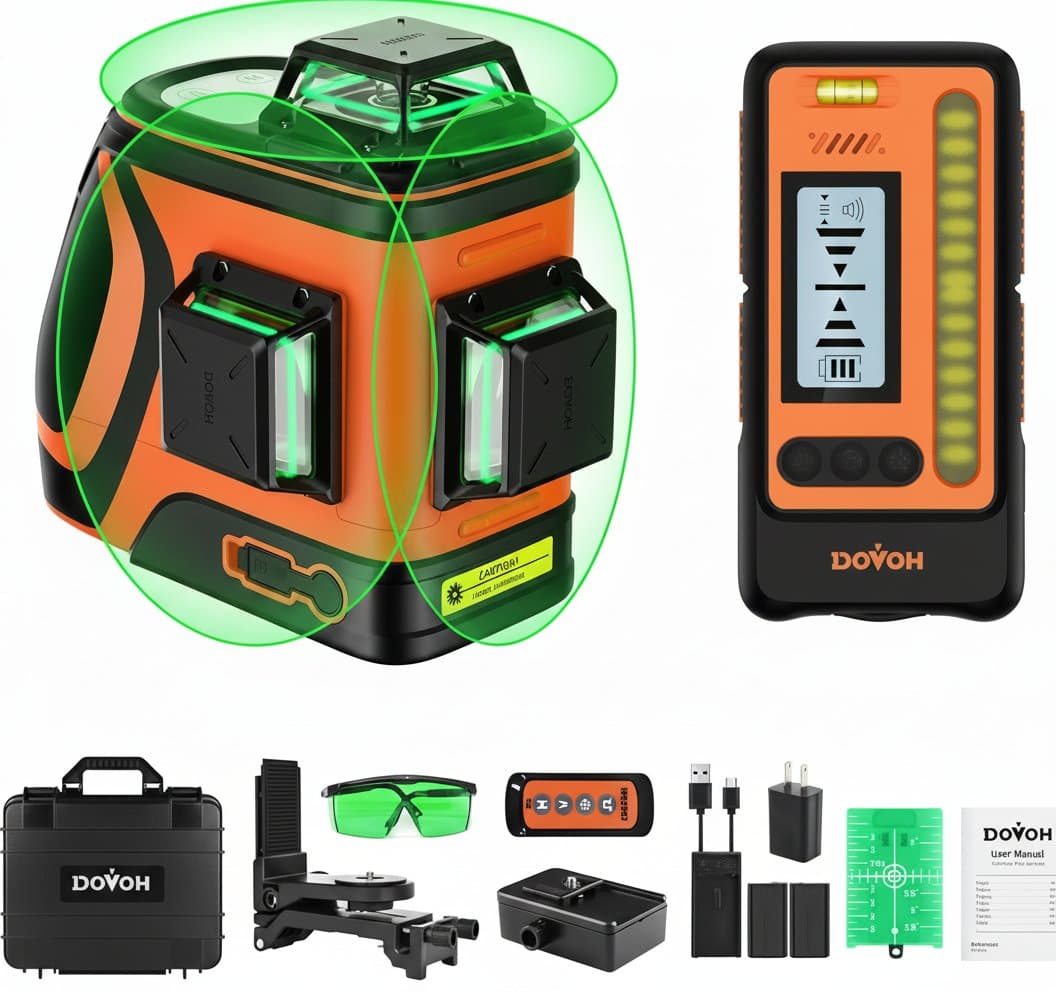
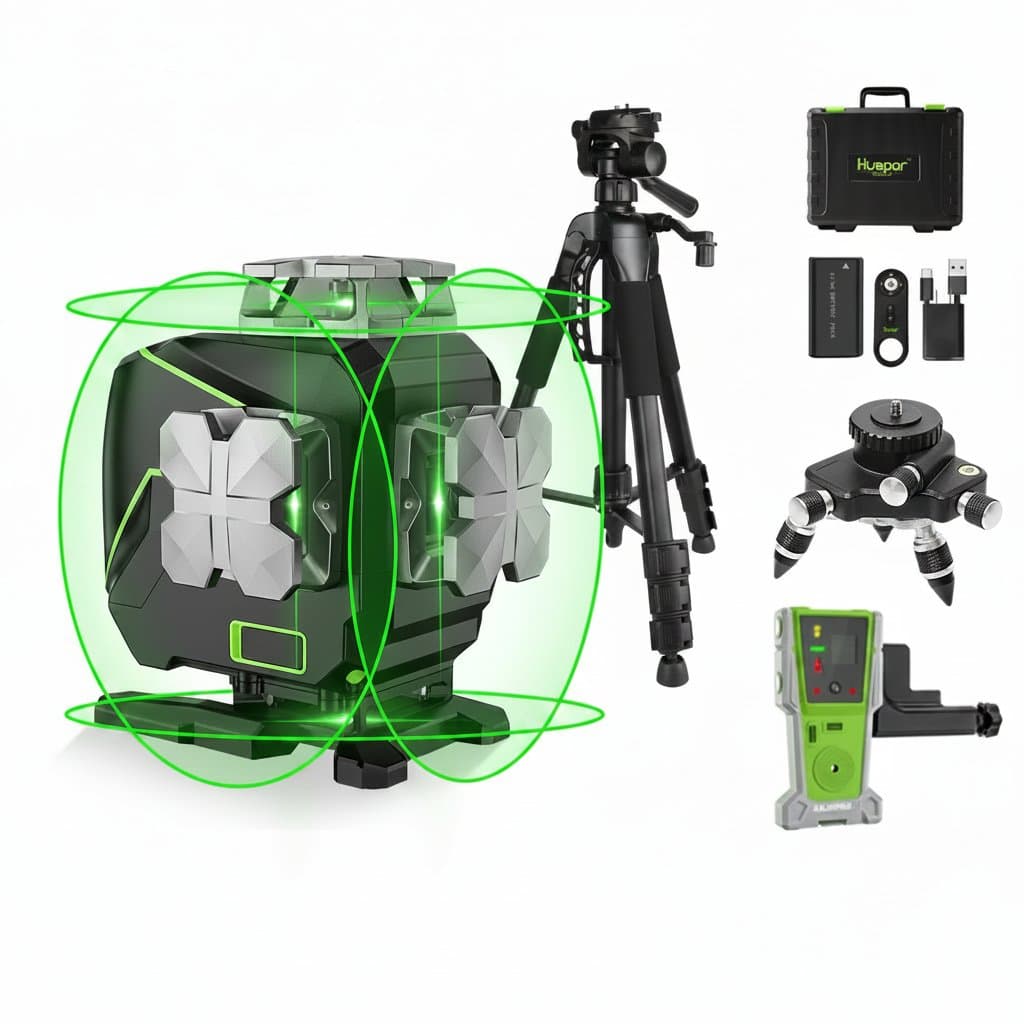
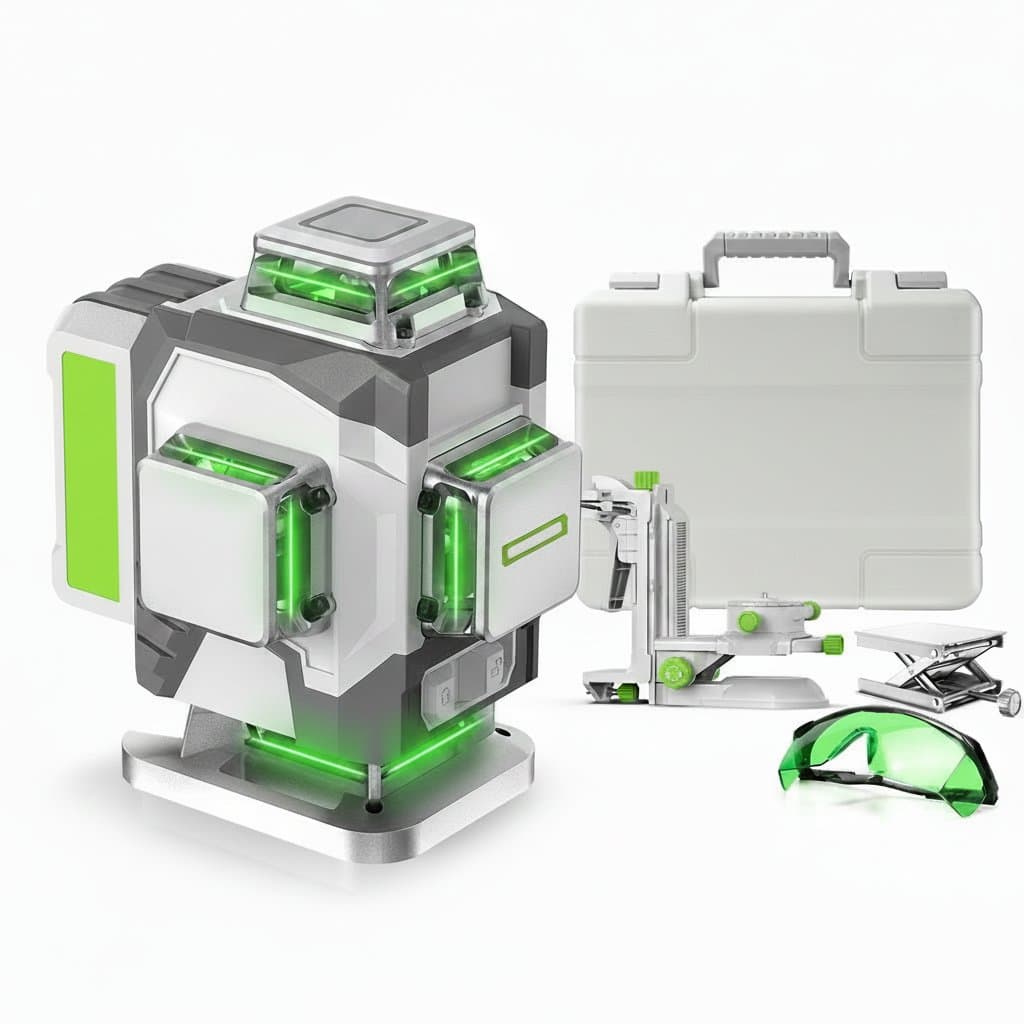
A 3D tool adds two vertical planes to that horizontal one and a 4D adds three, which means you can square a room, set out stud walls and mark floor to ceiling without picking the tool up. More planes is not automatically better: each 360 degree plane needs its own laser module, so at a given price a 16-line tool is spreading the same budget across more of them and each line is often dimmer than on a simpler tool. For tiling and second fix, a bright cross line beats a dim 4D.
| Type | Projects | Typical use |
|---|---|---|
| Cross line | One horizontal and one vertical line | Tiling, shelves, kitchen units, dado lines |
| 360 degree | One horizontal plane right around the room | Suspended ceilings, dado rails, worktop heights |
| 3D, 3 x 360 | One horizontal and two vertical planes | Squaring rooms, stud walls, floor to ceiling layout |
| 4D, 4 x 360 | One horizontal and three vertical planes | Full room layout without moving the tool |
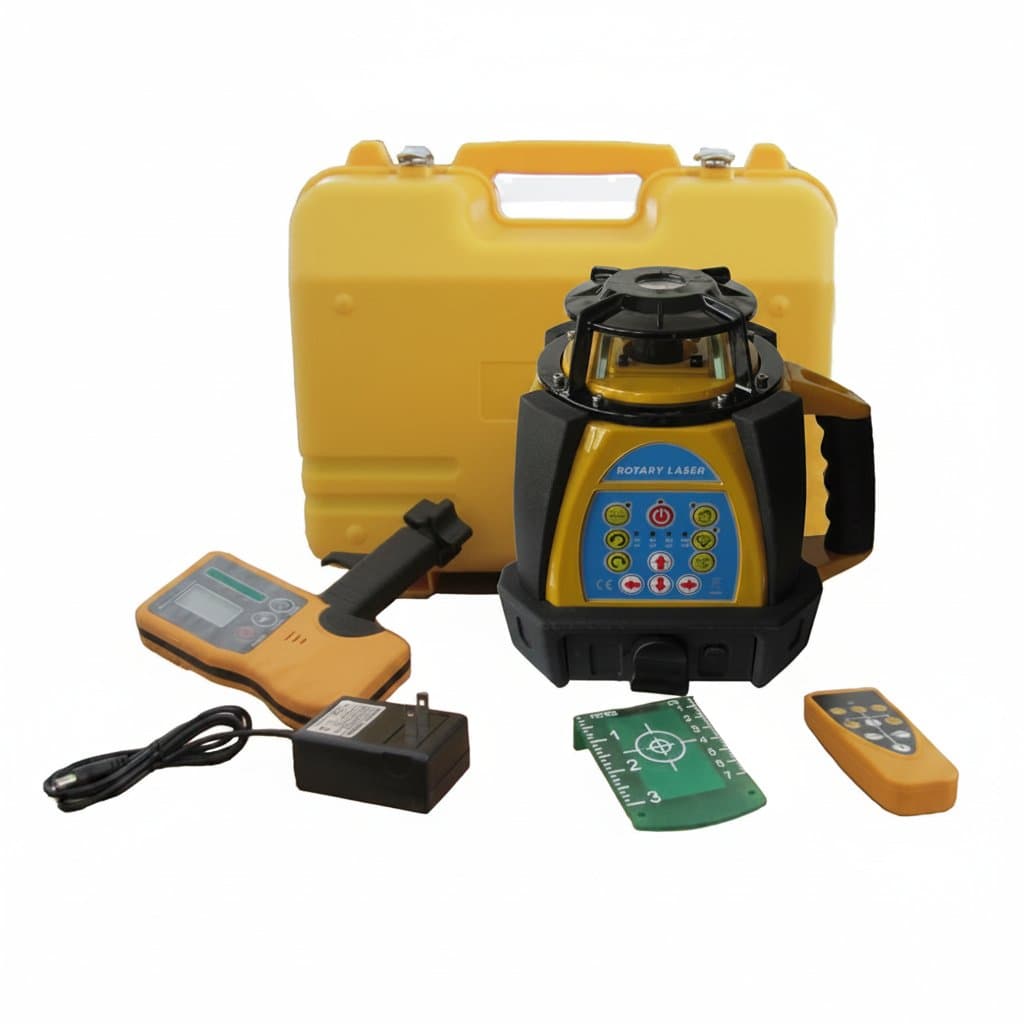
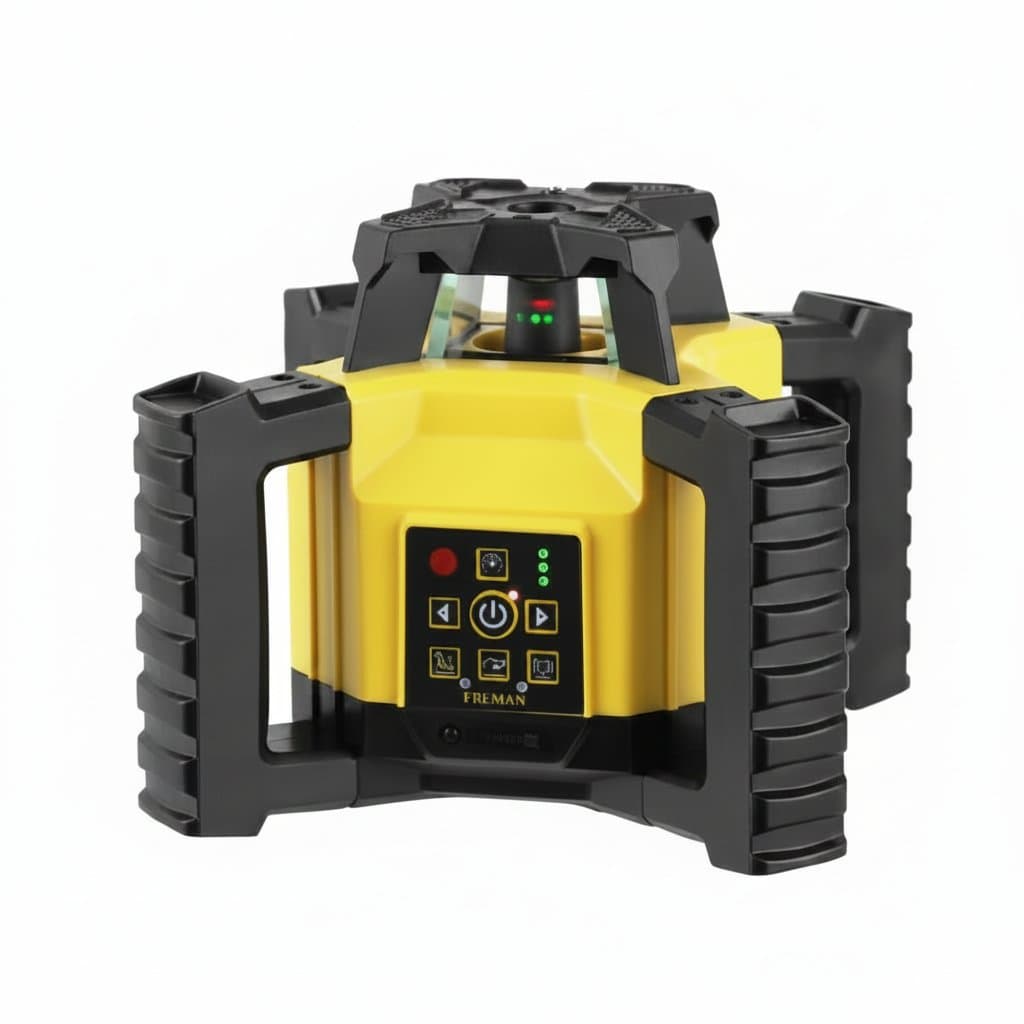
| Rotary | A spinning dot forming a plane, read with a receiver | Groundworks, foundations, long external runs |
Outdoors you need a receiver, not a brighter line
In daylight you cannot see a laser line on a wall at any useful distance, green or not. Sunlight simply swamps it. This is the single most common disappointment with laser levels, and no amount of extra power fixes it, because the limit is contrast rather than brightness.
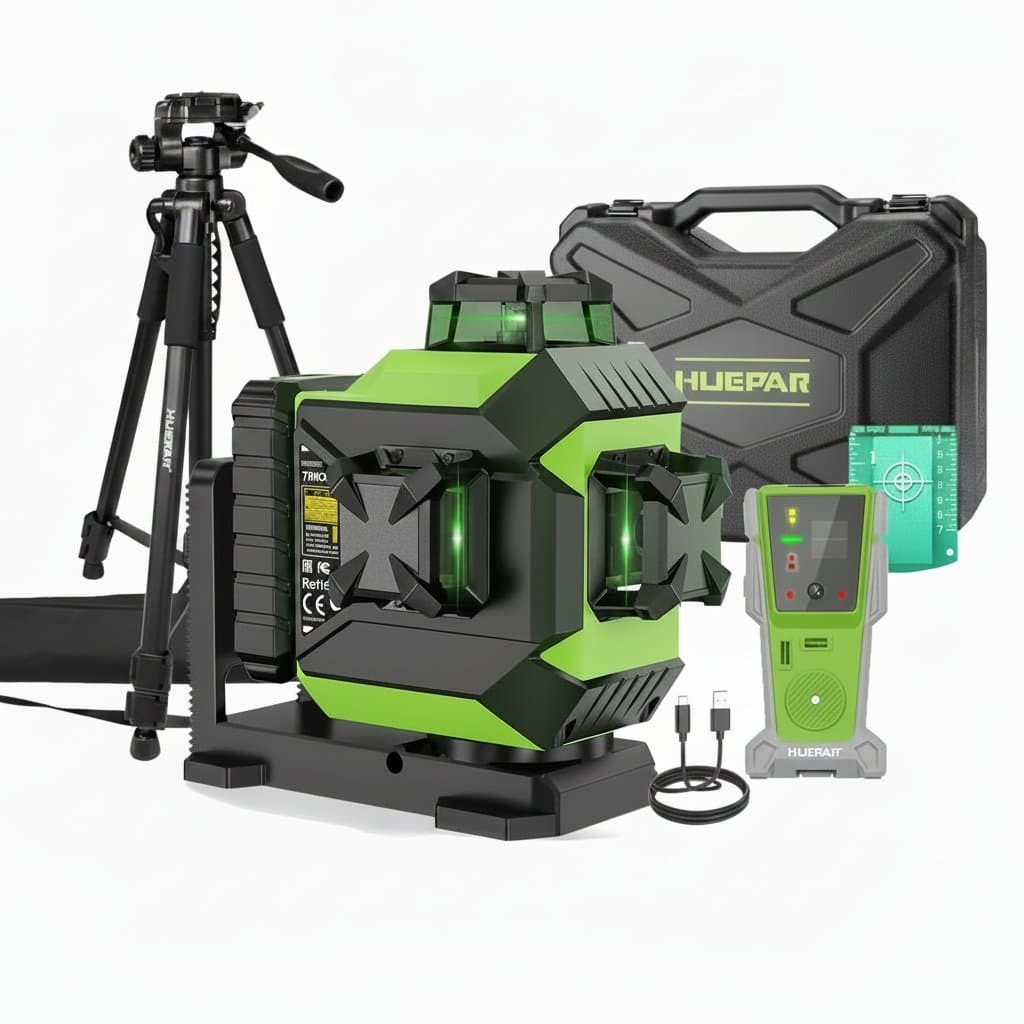
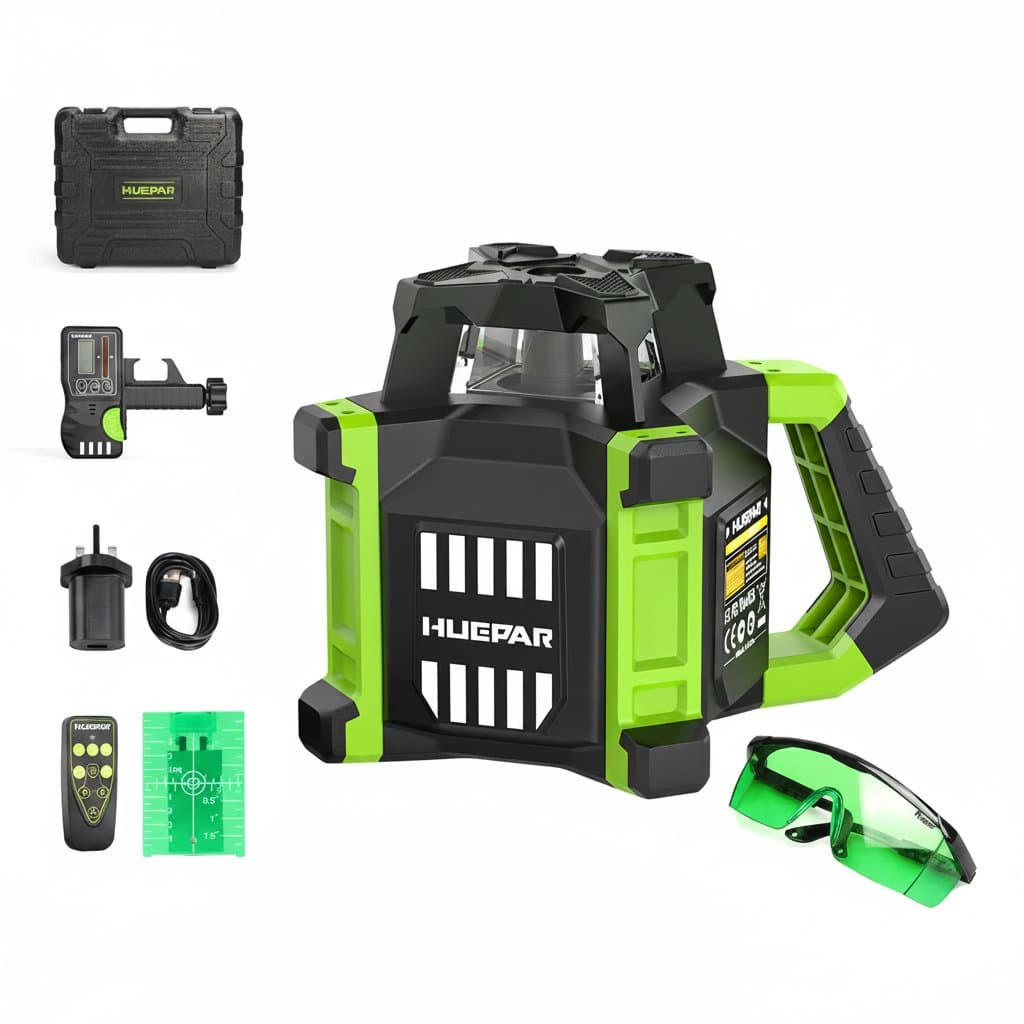
The answer is a receiver, sometimes called a detector. The tool is switched into pulse mode, which flickers the beam in a pattern the receiver recognises, and the receiver clamps to a staff or a batten and beeps as it crosses the plane. That turns a tool you can only use indoors into one that works across a site. Rotary lasers are built around this idea from the start, which is why they are what groundworkers use, and it is why the rotary units here ship with a detector in the kit. Laser enhancement glasses are a different thing entirely: they raise contrast indoors and they are not eye protection.
Accuracy and self-levelling range
Accuracy is quoted as a deviation over a distance, so a tool rated plus or minus 3 mm at 10 m may be out by 3 mm on a wall 10 m away and by roughly 6 mm at 20 m. Line lasers typically land between 2 mm and 3 mm at 10 m, which is well inside what tiling or a suspended ceiling needs. Rotary tools are usually tighter, which matters when the run is 30 m of foundation rather than 3 m of splashback.
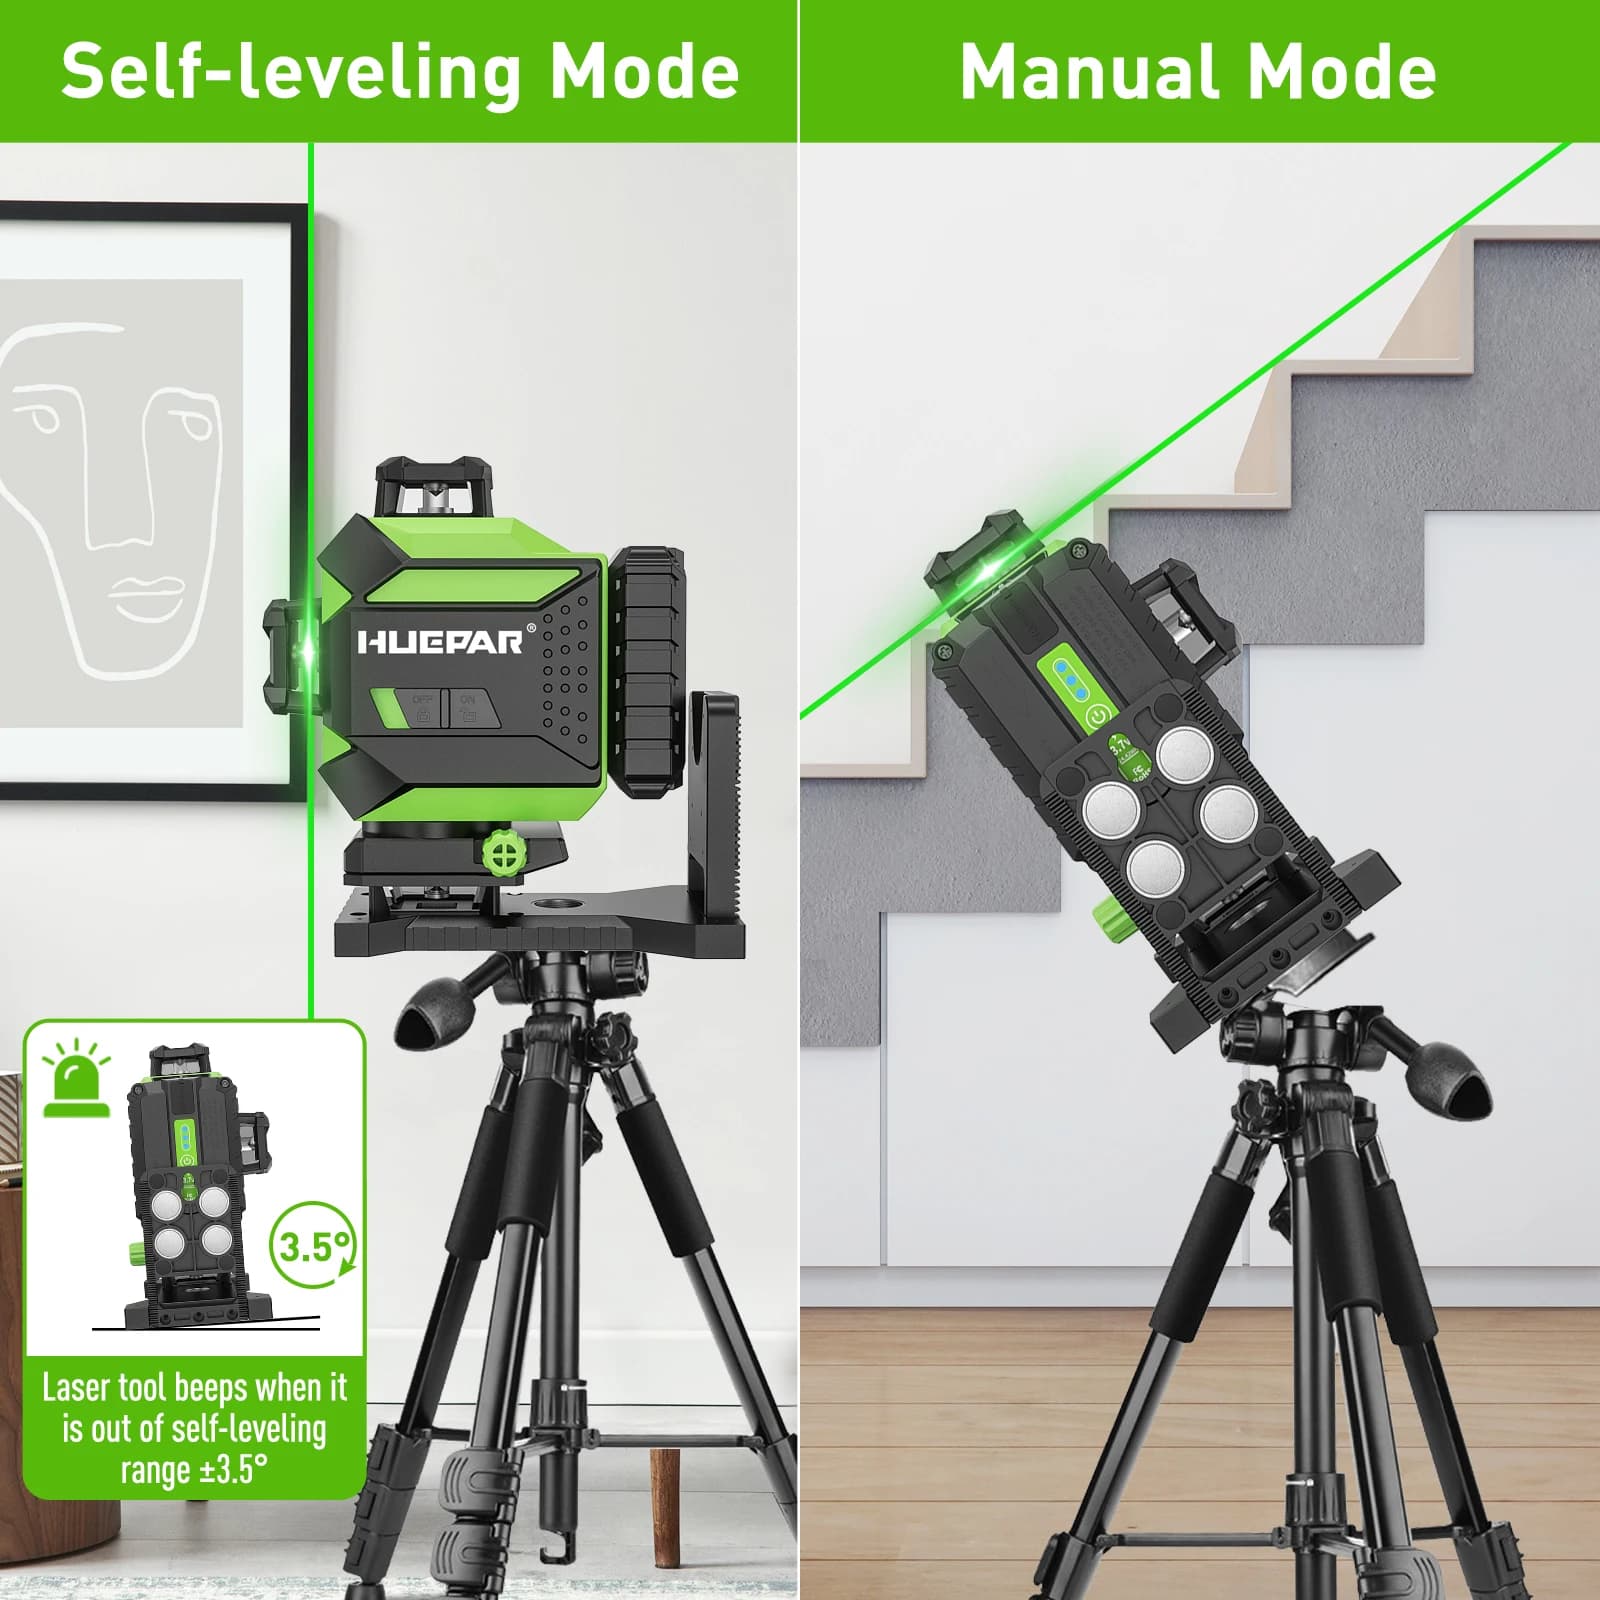
Self-levelling means a pendulum inside the tool hangs the optics true, damped magnetically so it settles quickly. It only works within a set range, commonly around 3 to 4 degrees off level. Set the tripod roughly level by eye and the pendulum does the rest; tilt it past the range and the tool flashes or beeps rather than quietly giving you a wrong line. A tool that will not stop flashing is almost always standing on a slope, not broken. Worth checking on arrival and after any drop: set the line against a mark, spin the tool 180 degrees and see whether it returns to the same mark.
Tripods, brackets and mounting
Two thread sizes cover almost everything. The 5/8 inch by 11 thread is the construction and survey standard and is what full-size tripods and staff adaptors use. The 1/4 inch by 20 thread is the smaller camera size, found on compact tripods, magnetic brackets and pole clamps. Many laser levels have both, so check which is on the base before ordering a tripod.
Height matters as much as the thread. An elevating tripod that reaches working height saves constantly re-levelling on the floor, and a pole or a bracket clamped to a stud is often better indoors than a tripod that gets kicked. For ceiling work a bracket with fine vertical adjustment is worth more than extra lines, because it lets you nudge the plane onto the mark instead of moving the whole tool.