
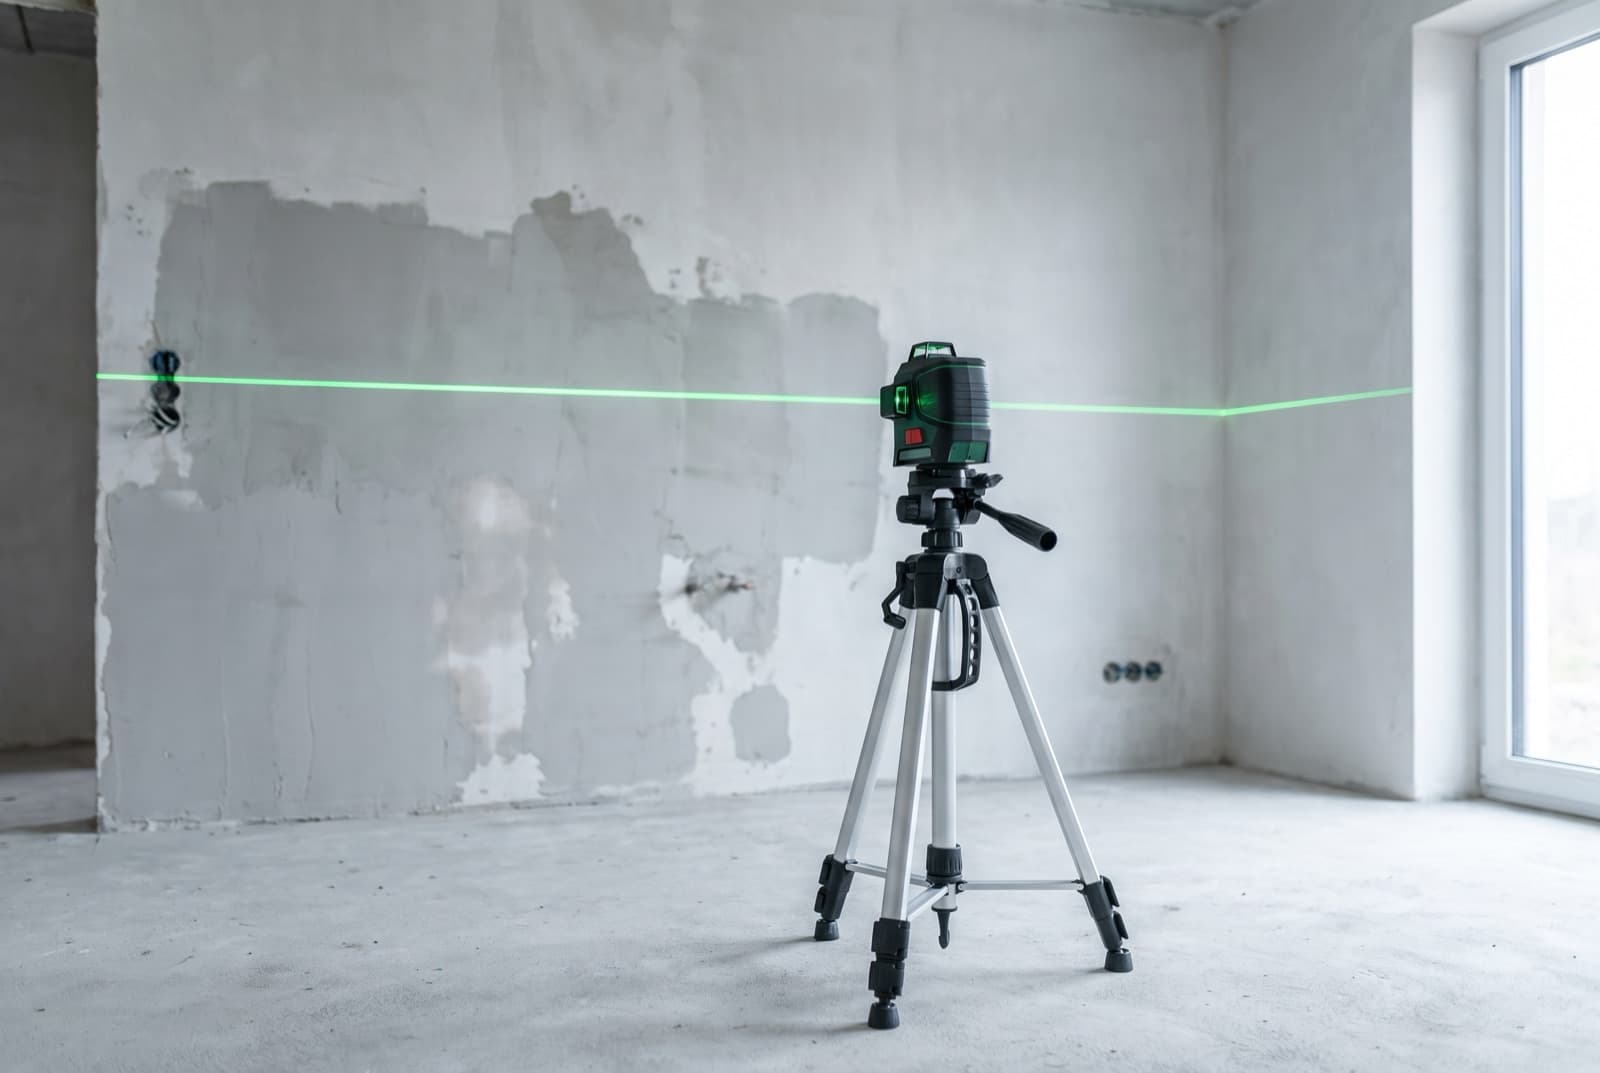
To use a laser level, stand it on a tripod or a flat surface roughly level by eye, switch it on and wait a couple of seconds for it to self-level, then mark the wall where the line falls. The tool holds that plane wherever you point it, so one set-up gives you the same height all the way round a room.
Quick answer
- Set the base roughly level, then let the pendulum settle before marking anything.
- A flashing or beeping tool is telling you the base is outside its self-levelling range.
- Outdoors you cannot see the line in daylight. Switch to pulse mode and use a receiver.
- Check the tool after any drop by rotating it 180 degrees against the same mark.
How a laser level works
Inside the tool a laser diode sits on a pendulum, hung on bearings and damped with a magnet so it stops swinging quickly. Gravity pulls the pendulum true, which means the beam leaves the tool level even when the case is not. That is the whole trick, and it is why a laser level needs no adjustment screws or bubble vials the way an optical level does.
The pendulum only has a few degrees of travel, usually around 3 to 4 degrees. Inside that range the tool self-levels silently. Outside it the pendulum hits its stops, and the tool flashes the line, beeps, or both. A level that will not stop flashing is almost never broken; it is standing on something sloped.
Setting up and reading the line
Get the base close to level first. On a tripod that means the legs roughly even and the head eyeballed flat, not fiddled with for five minutes. Switch on, wait for the line to stop moving, then mark. Mark at the centre of the line rather than an edge, because a laser line is a few millimetres thick at distance and picking a different edge each time is a real source of error.
Height is a decision, not an accident. Most people set the tool to a convenient working height and transfer measurements up or down from the line, rather than trying to put the beam exactly on the finished level. A metre line marked round a room is the traditional version of this and it still works.
| Type | Projects | Good for |
|---|---|---|
| Cross line | One horizontal and one vertical line | Tiling, shelves, kitchen units |
| 360 degree | A horizontal plane right round the room | Ceilings, dado rails, worktop heights |
| 3D or 4D | Horizontal plus two or three vertical planes | Squaring rooms, stud walls, full layout |
| Rotary | A spinning dot read with a receiver | Groundworks, foundations, long outdoor runs |
Using one outdoors
This is where most people are disappointed. In daylight you cannot see a laser line on a wall at any useful distance, and a brighter tool does not fix it, because the problem is contrast rather than power. Sunlight simply swamps the beam.
The answer is a receiver, sometimes called a detector. Put the tool into pulse mode, which flickers the beam in a pattern the receiver recognises, then clamp the receiver to a staff or a batten and slide it until it beeps. You are no longer looking for the line, you are listening for it, and the working range goes from a few metres to across the site. Rotary lasers are built around this from the start, which is why groundworkers use them.
Laser enhancement glasses are not eye protection and they do nothing outdoors. They raise contrast indoors in bright rooms, and that is all. If you need to work outside, budget for a receiver instead.
Checking the tool is still accurate
Accuracy is quoted as a deviation over a distance, so a tool rated plus or minus 3 mm at 10 m may be out by about 6 mm at 20 m. Line lasers usually land between 2 mm and 3 mm at 10 m, which is comfortably inside what tiling or a suspended ceiling needs.
Check it after any drop, and once when it arrives. Set the tool a few metres from a wall, mark where the line falls, then rotate the tool 180 degrees on the spot and let it re-level. The line should return to the same mark. If it lands consistently high or low, the tool needs calibrating rather than trusting.