
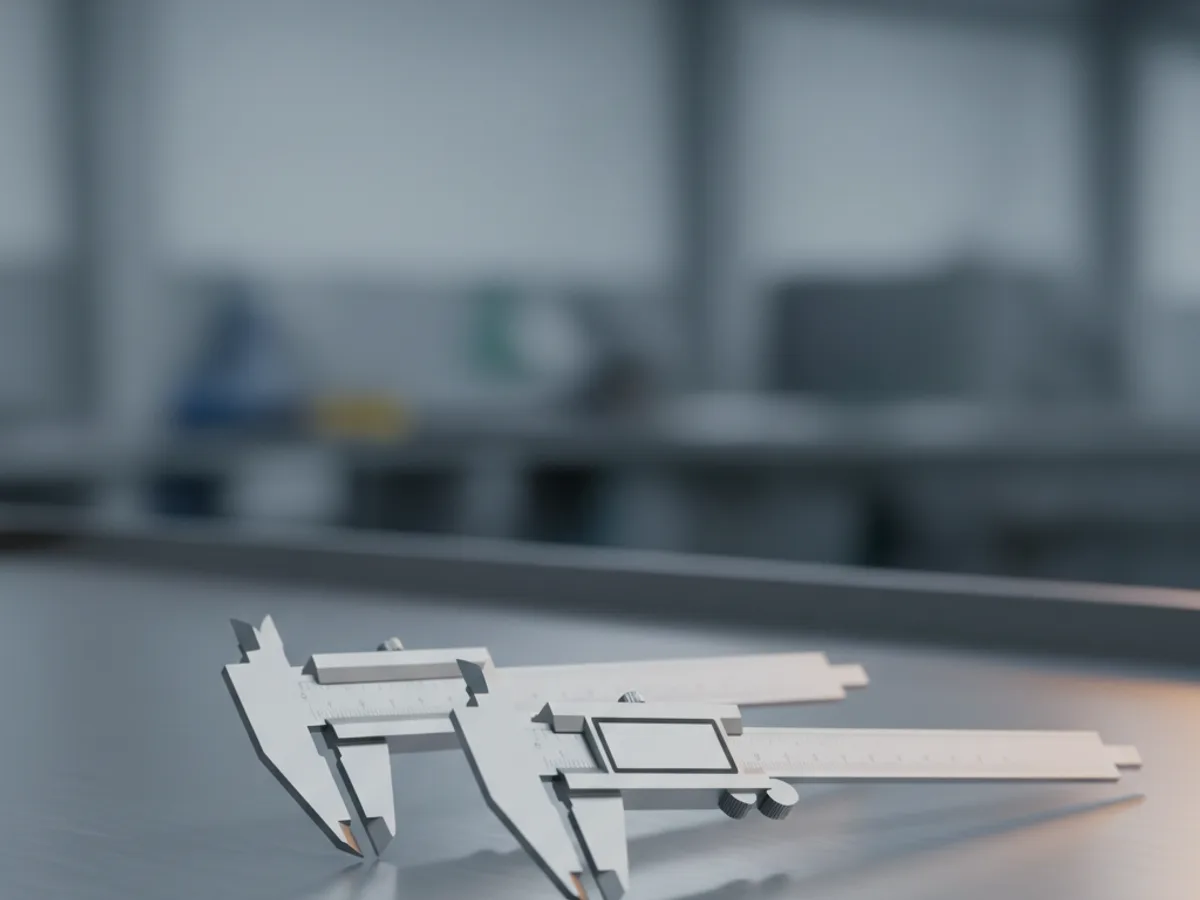


Vernier, dial or digital
A true vernier caliper has no moving parts beyond the slide. You read a main scale for the whole millimetres and then find which line on the sliding vernier scale aligns exactly with a line on the main scale, and that line gives the fraction. It takes practice, it never needs a battery, and it cannot fail quietly.
A dial caliper drives a needle through a rack and pinion, which is far quicker to read and introduces one weakness: grit in the rack makes the dial jump or stick, and a dial caliper that has been dropped may read consistently wrong.
Digital calipers are the default now, and rightly so for most work. They zero anywhere, switch between millimetres and inches, and remove reading error entirely. They also depend on a battery, and the cheapest ones drift.
| Type | Strength | Weakness |
|---|---|---|
| Vernier scale | No battery, nothing to fail | Slow to read, needs practice |
| Dial | Fast reading, no battery | Rack collects grit, damaged by drops |
| Digital | Fast, zeroes anywhere, converts units | Battery dependent, cheap ones drift |
Resolution is not accuracy
A digital caliper displaying to a hundredth of a millimetre has a resolution of a hundredth of a millimetre. Its accuracy is a separate figure, usually two or three hundredths over the measuring range, and it is the accuracy that tells you how much of that last digit to believe.
This matters because the display is persuasive. Reading 12.47 looks precise, and if the instrument is accurate to three hundredths then the true dimension sits somewhere in a small band around that number rather than exactly on it. For most workshop use that is entirely sufficient; for anything tighter a micrometer is the correct tool.
Check the zero constantly. Close the jaws fully, confirm the reading is zero, and reset if it is not, because a caliper that has drifted a few hundredths off zero carries that error into every measurement it makes for the rest of the day.
Measuring force, and the errors it causes
A caliper is a beam with a sliding jaw, and both flex. Squeezing hard on the jaws bends the frame slightly and reads under, and a consistent light contact reads true. The thumbwheel exists for this reason: rolling it up to contact applies a repeatable force where fingers do not.
Measure at the base of the jaws rather than the tips wherever the part allows. The tips are furthest from the beam and flex most, and they are also where wear concentrates, so a caliper measuring only at the tips reads differently from the same caliper measuring at the root.
Keep the jaws square to the work. A caliper tilted across a round bar measures a chord rather than the diameter, and rocking it slightly while watching for the smallest reading is the standard way to find the true diameter.
Grit, batteries and what to buy
The single biggest cause of caliper error is dirt. A chip on a jaw face, swarf in the beam, or oil in the measuring surfaces all put the reading out, and wiping the jaws and beam before use costs seconds. Store it closed but not clamped, in a case, not loose in a drawer with the drills.
Digital calipers eat batteries in a way that surprises people, because on many of them the button only blanks the display while the sensor keeps tracking. Removing the cell when a caliper is going into storage for months is worth doing.
On construction: hardened stainless is the sensible choice for anything that has to hold accuracy. Carbon fibre and plastic calipers are light and cheap and are not measuring instruments in the metrological sense, since the material moves with temperature and humidity. They are fine for rough work and not for anything that has to be right.