
Compel Groupgroup

Saw Guide Rails and Track Systems

Author: James Whitfield, Equipment Desk5 min read
Updated

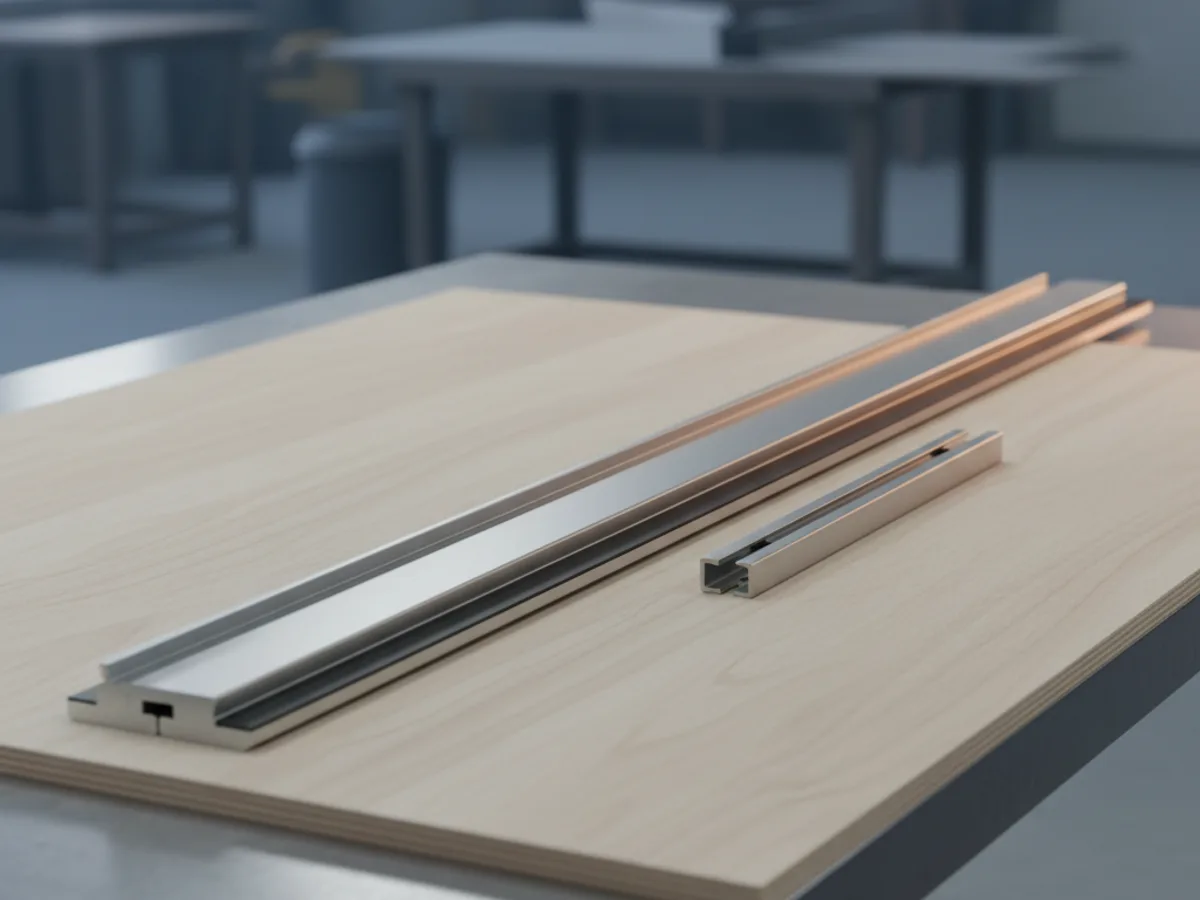
A guide rail turns a circular or plunge saw into a straight-line cutting machine. The saw base runs in a rib on the rail, so the cut is wherever you put the rail, with no marking out and no drift. Size it by the longest cut you make plus the length of the saw base at each end, and check that your saw actually fits that maker rib.

10 products from £26.99 to £267.99

Specs and prices

Specifications as declared by the seller of each listing, not our own measurements. Prices update with the catalogue.

ProductPriceMaterialFunctionTypeCompatibility
Festool guide rail connector set FSV/2 for fast and convenient alignment of compatible rails, featuring self-alignment design.Guide Rail Connector Kit£267.99Aluminum alloyConnects and aligns guide rails--
FESTOOL FS-BAG 1400 carrying case for guide rails, made from durable nylon with adjustable shoulder strap for portable transport.Festool Guide Rail Carrying Case£243.99Nylon-Tool BagFESTOOL FS Guide Rails
Aluminum alloy track saw guide rail for precise wood and marble cutting, featuring a 2.8 meter edge guide for professional woodworking.Circular Saw Guide Rail£185.99Aluminum Alloy-Guide Rail Track Saw System-
WU533 electric circular saw guide ruler for making straight and parallel cuts, compatible with Worx 535 and other woodworking tools.Circular Saw Guide Rail£125.99Aluminum AlloyParallel and Curved Cutting Guide-WORX 535, Similar Circular Saws
Premium drawer slide rail for jewelry cabinets and glass display cases, featuring a smooth sliding bottom guide rail with shelf support.Jewelry Display Cabinet with Glass Doors & Smooth Sliding Drawers£91.99---Wood, Glass, or Composite Drawer Bottoms
Festool 495207 FS-SP 1400/T clear splinter guard accessory for guide rails, ensuring splinter-free cuts on laminate and veneers.Guard for Guide Rail£78.99Clear plasticSplinter-free cuttingSaw Guide Splinter Guard-
Black mute ball bearing pull out tray with adjustable hanging bracket on suspension track, a telescopic drawer runner for smooth extension.Mute Ball Bearing Pull Out Tray Adjustable Hanging Bracket Suspension Track Guide Rail Fold Telescopic Drawer Runners Black£55.99Steel---
HGR20 Bellows Linear Guide Rail CNC Dust Cover protects machine tools with durable, accordion-style fabric for extended axis life.CNC Machine Bellows Cover£52.99Industrial Cloth (Polyester/Nylon)CNC Machine Tool ProtectionBellows Linear Guide Rail Dust Cover-

Rail length is the cut plus two saw bases

The saw has to start fully on the rail before the blade meets the work and stay on it until the blade is clear, so a rail exactly as long as the cut is too short at both ends. Add roughly the length of the saw base to each end and you have the working minimum.

That is why a rail somewhere around 1400 mm is the common first purchase for sheet work: it crosses the short dimension of a standard sheet with the overhang the saw needs. Ripping a full sheet down its length takes a much longer rail or two rails joined.

Where you cannot get the overhang, for instance cutting close to a wall, clamp an offcut of the same thickness beside the workpiece so the rail is supported and the saw base stays flat. Letting the saw tip as it runs off the end is what produces a cut that wanders in the last few centimetres.

Choosing a length
Cut neededPractical railNote
Cross-cutting sheet goodsAbout 1400 mmCrosses a standard sheet with overhang
Ripping a full sheetAbout 2700 mm or two joinedOne long rail is stiffer than two joined
Site work, doors and worktopsAbout 800 to 1400 mmShorter is easier to carry and store

The splinter strip is cut once and then never again

A new rail has a rubber or plastic splinter guard along the cutting edge that stands slightly proud. The first cut you take trims that strip to the exact path of your blade, and from then on the edge of the strip is the cut line: lay it on your mark and the blade goes there.

Because the strip is trimmed to one blade on one saw, it is specific to that combination. Change to a saw with a different blade offset, or to a blade of a different kerf, and the strip no longer indicates the true line. That is worth knowing before lending a rail or before buying a second saw to share it.

The strip also holds the top face of the workpiece down right at the blade, which is what stops veneer and laminate chipping. Once it is worn, torn or has been cut through at an angle, it stops doing that job and it is a replaceable consumable rather than a reason to replace the rail.

Joining rails, and checking the join is straight

Connector bars slide into the extruded channels on the underside and bridge two rails. Fitted properly they give a working long rail, but the join is the weak point: a connector left slightly loose lets the two halves form a shallow angle, which puts a bend in what should be a straight cut.

Set the join on a surface you trust. Lay both rails on a flat bench, push the ends hard together, tighten the connector grub screws evenly, then sight along the rail from one end. Any kink shows clearly against a straight background, and it is much easier to see now than in the middle of a cut in an expensive sheet.

Self-aligning connector systems make this quicker and do not remove the need to check. Where a long joined rail is used often, marking the two rails so they always go back together the same way round keeps a setting that has been proved rather than re-proving it each time.

Grip, clamps and keeping the rail put

The underside of a rail carries anti-slip strips that hold it on the workpiece by friction alone, and on clean, dry sheet material that is genuinely enough for most cuts. It stops being enough on dusty surfaces, on melamine, on anything sloping, and on narrow offcuts where there is little rail on the work.

Clamps that engage the underside channel are the answer, and two are better than one because a single clamp becomes a pivot. Fit them clear of the saw path and check the saw actually clears the clamp heads before starting the cut, which is a mistake everyone makes exactly once.

Keep the anti-slip strips clean. Sawdust and the fine plastic swarf from cutting laminate build up and turn a grippy rail into a sliding one, and a wipe with a damp cloth restores most of it. If the strips have hardened or lifted with age they are replaceable in the same way as the splinter guard.


James Whitfield, Equipment Desk editor at Compel GroupJames WhitfieldEquipment Desk

James edits the machine and equipment buying guides. The specifications on these pages are the declared figures from the live listings we hold, with a note wherever a number comes from a published standard instead. Pages are re-checked as the catalogue changes.

Share
Add Compel Group as a preferred source on Google

Buying guide

Saw Guide Rails and Track Systems questions

What length guide rail do I need?
Your longest cut plus roughly the saw base length at each end, so the saw is fully supported before the blade enters and after it leaves. About 1400 mm crosses a standard sheet; ripping one lengthways needs about 2700 mm or two rails joined.
Will any circular saw fit any guide rail?
No. The rib profile on the rail and the groove in the saw base vary between makers, though some saws offer adjustable guides or aftermarket adapters. Check compatibility for your specific saw before buying.
What is the splinter strip for?
It is trimmed by your first cut to the exact path of your blade, so afterwards its edge marks the cut line. It also holds the surface down at the blade to stop veneer and laminate chipping. It is a replaceable consumable.
Can I use the rail with a different saw afterwards?
The rail yes, the strip no longer as a cut-line indicator. The strip was trimmed to one blade on one saw, so a different blade offset or kerf means the edge no longer shows the true line.
How do I keep two joined rails straight?
Join them on a flat surface, push the ends hard together, tighten the connector screws evenly, then sight along the rail against a plain background. A shallow kink is obvious that way and invisible mid-cut.
Do I need clamps or is the grip enough?
The anti-slip strips are enough on clean, flat, dry sheet. Use clamps on dusty or sloping surfaces, on melamine and on narrow pieces. Use two rather than one, and check the saw clears the clamp heads first.

We use cookies. Some keep the store working, others show us what to fix. No third-party trackers, and we never sell your data. Learn more about cookies and your privacy