
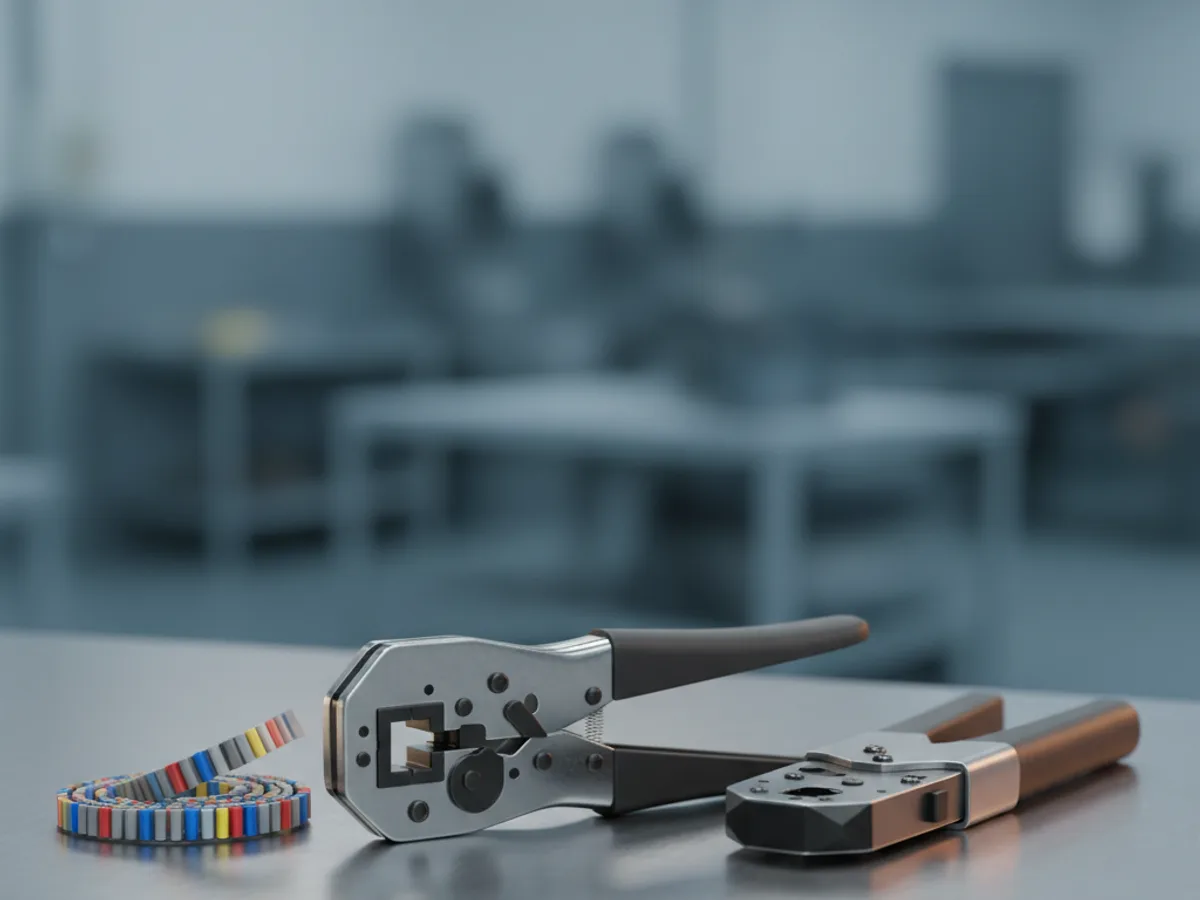


What a bootlace ferrule is actually for
A ferrule is a thin metal sleeve crimped onto the end of stranded wire before it goes into a screw terminal. Without one, the screw bites into loose strands, some splay outside the terminal, and the ones that are captured slowly cold flow under the clamping pressure until the joint loosens.
With a ferrule the screw clamps a single solid ferrule wall instead. The strands are held together and protected, the contact area is defined, and the joint keeps its torque. That is why panel wiring and any terminal that gets disturbed for maintenance is ferruled as standard practice.
It is also the reason not to tin a wire that goes into a screw terminal. Solder creeps under sustained pressure far more than copper does, so a tinned end that is tight today is loose in a year. A ferrule solves the same problem without that failure mode.
| Terminal | Die profile | Result |
|---|---|---|
| Bootlace ferrule | Square or trapezoidal | Four-sided or trapezoid crimp, holds torque |
| Insulated spade or ring | Rounded, colour coded | Compresses barrel and insulation grip |
| Non-insulated terminal | Oval or indent | Rolls the barrel into the strands |
| Heavy cable lug | Hexagon | Even six-sided compression on large sections |
Why the ratchet is not just a convenience
A ratcheting crimper will not release until the jaws have closed all the way. That is the point of it: it removes the operator from the question of how hard to squeeze, and it makes every crimp on a panel identical rather than dependent on hand strength at the end of a long day.
A plain plier-style crimper leaves that judgement to you, and an under-crimped joint is the common failure. It looks finished, it holds when pulled by hand, and it has not compressed the strands enough to be gas-tight, so it oxidises internally, its resistance rises and it heats.
Most ratcheting tools have a release lever for the occasions when you need to abandon a cycle, and most have an adjustment for crimp pressure. Leave that adjustment alone unless a pull test tells you it is wrong, because it is the setting that makes the ratchet meaningful.
Cross section, and reading the die markings
Dies are marked by conductor cross section in square millimetres, or by AWG on American tooling, and the marked size is not advisory. A die one size too large under-compresses and leaves a joint that pulls out; one size too small over-compresses, cutting strands and reducing the conductor.
Match the wire, the terminal and the die together. A ferrule is made for a particular cross section and a particular length, and using a 2.5 square millimetre ferrule on 1.5 square millimetre wire leaves a void that no die profile can fix.
Where a tool ships with interchangeable jaws, keep the set together. The value of these kits is having the right profile for insulated terminals, non-insulated terminals and network plugs, and a kit missing the jaw you need is a tool that will get used with the wrong one.
Heavy lugs and the hex crimp
Above roughly 6 square millimetres, terminals stop being something a hand plier can compress properly and hex dies take over. The hexagonal profile squeezes the barrel evenly from six directions, which is what turns the lug and the strands into one solid mass rather than a barrel with a dent in it.
These tools take real effort, which is why the larger ones use compound linkage or long handles. If a crimp needs both hands and body weight, the tool is at its limit and the next size of tooling is the answer rather than a longer bar on the handle.
Check the result. A good hex crimp shows a clean, even hexagon with no cracking of the barrel and no strands escaping at either end, and the lug should not turn on the cable under a firm twist. Where the joint carries serious current, a pull test on an offcut is the only way to know the die and the lug actually suit each other.