



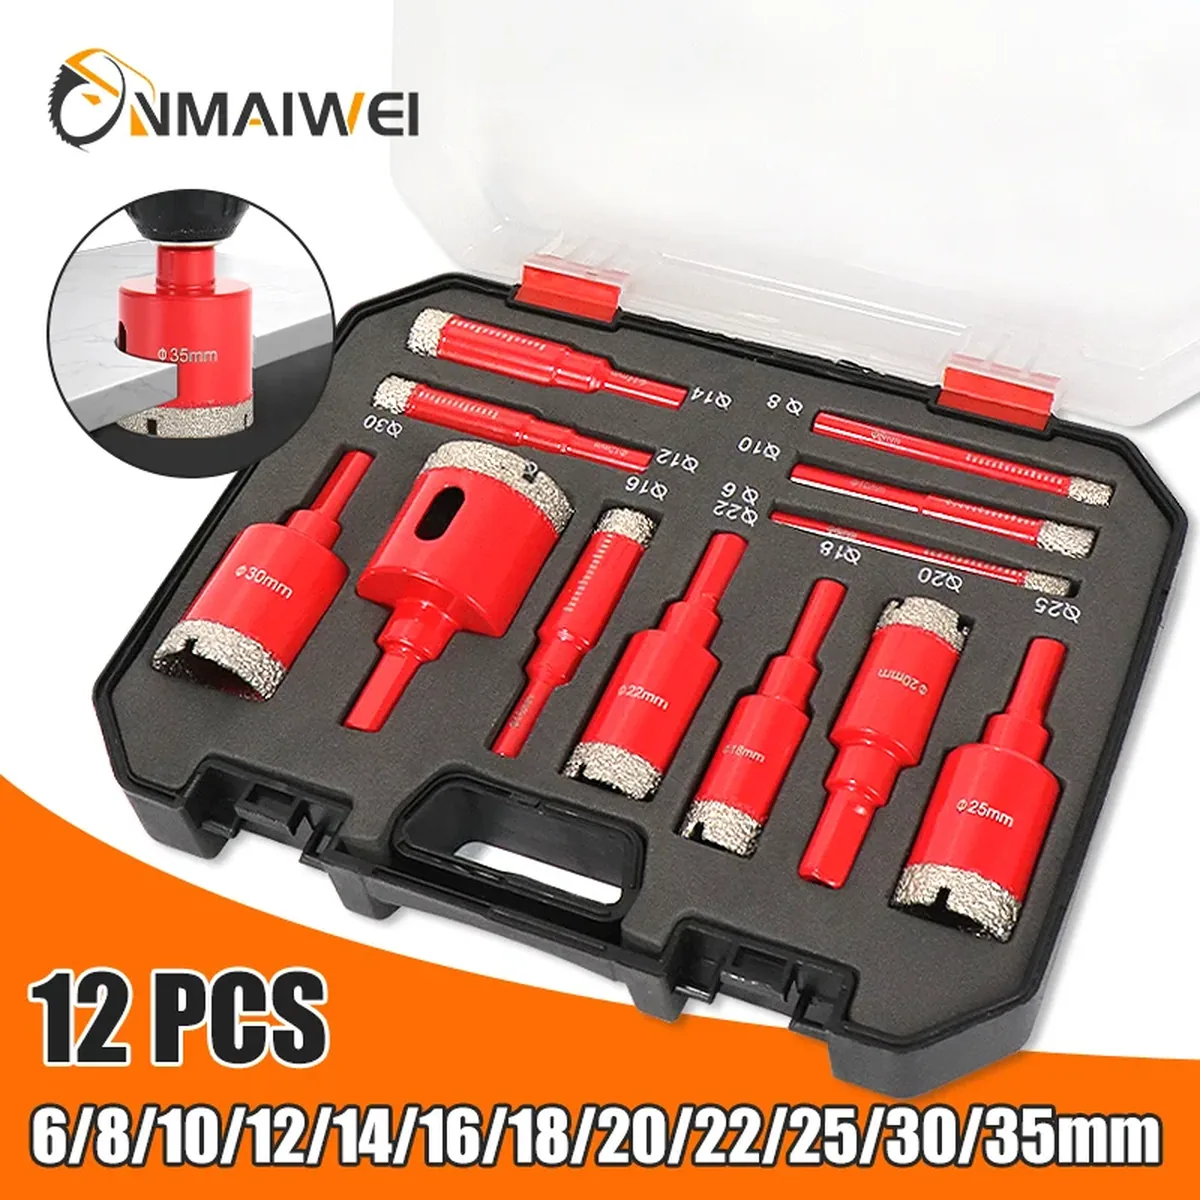

It grinds, so hammer action destroys it
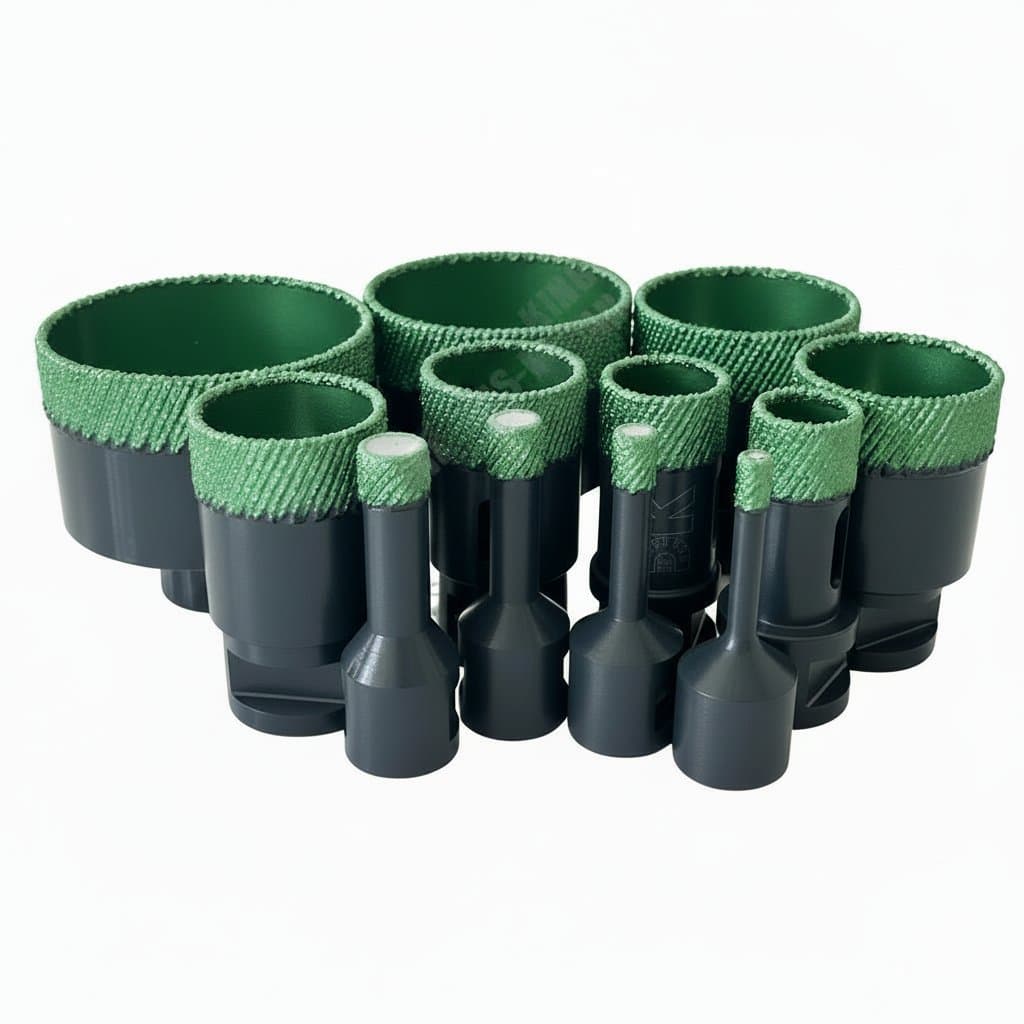
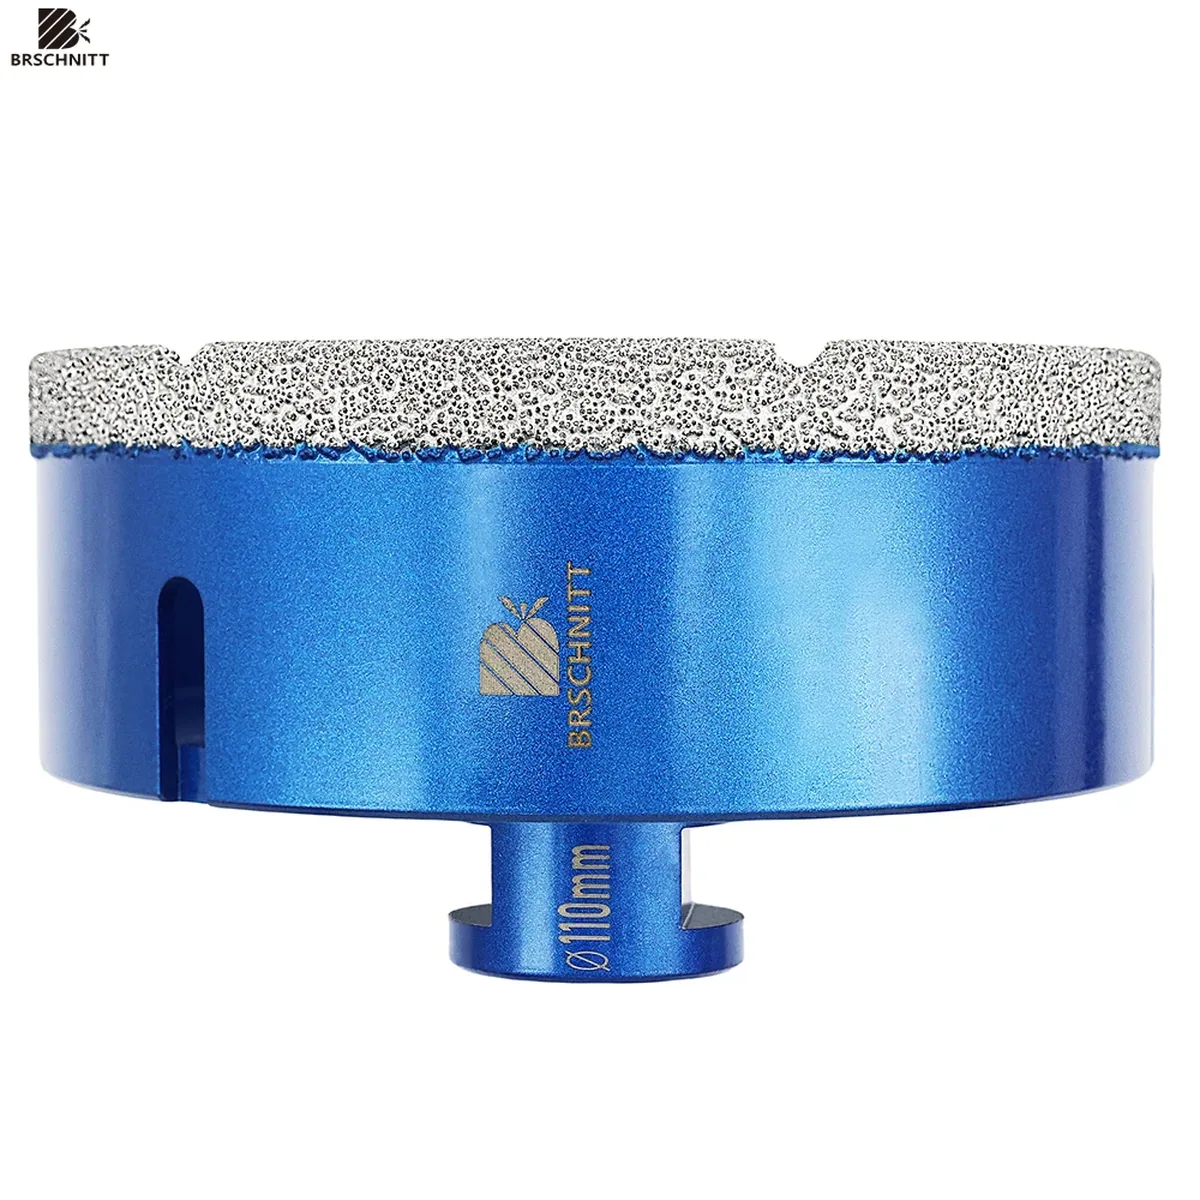
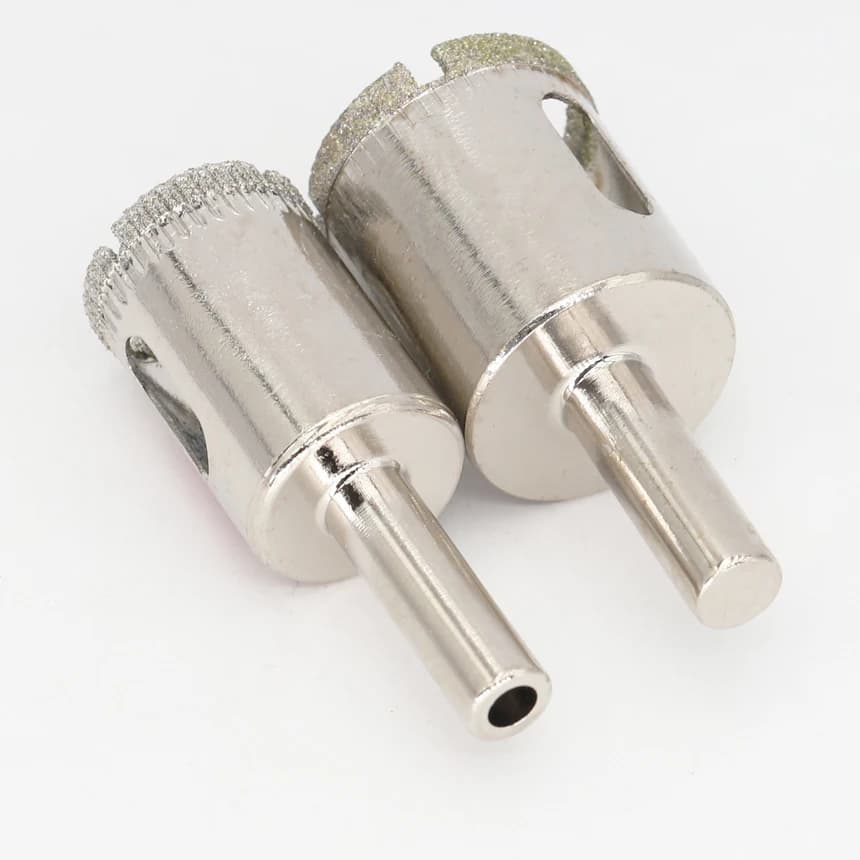
The rim carries diamond grit held in a metal bond. As it turns under load the diamonds abrade the tile and slowly wear, exposing fresh grit behind them. Nothing chips or levers the material away, which is why the cut edge is clean enough to leave visible.
Hammer action does the opposite. Every blow tries to fracture the material and, in doing so, hammers the diamonds out of their bond. A diamond bit used in hammer mode can be finished in seconds, and no amount of care afterwards recovers it. Set the drill to rotation only and check, because it is an easy setting to leave from the last job.
Speed follows the same logic. Too fast generates heat faster than it can be carried away, which softens the bond and lets the grit shed; too slow and the diamonds polish rather than cut. A steady moderate speed with firm even pressure is what cuts fastest overall, and leaning on it does not speed anything up.
| Material | Bit type | Note |
|---|---|---|
| Porcelain, granite, marble | Diamond core or hole saw | Water cooling strongly preferred |
| Ceramic wall tile, glass | Diamond, fine grit | Low speed, light pressure, no hammer |
| Wood, plasterboard, plastic | Bi-metal hole saw | Toothed, different tool entirely |
| Steel plate and sheet | Bi-metal or annular cutter | Cutting fluid, slow speed |
Wet or dry, and why water is worth the mess
Water does two jobs. It carries heat out of the cut, which is what preserves the bond and keeps the bit sharp, and it floats the ground-off slurry clear so the diamonds keep meeting fresh material rather than grinding their own debris.
A bit that is described as dry cutting will work without water, and it will not last as long doing it. Dry cutting suits short holes and site work where water is impractical, and it is worth pausing every few seconds to let the rim cool rather than pushing through in one go.
For wet cutting a simple water feed or even a sponge kept against the cut is enough on vertical work. On flat tile a dam of plumber putty around the hole holding a small pool is the classic method, costs nothing, and makes a noticeable difference to how many holes a bit gives you.
Stopping the bit skating across the tile
A round rim on glazed porcelain has nothing to bite, so the first contact wanders and scratches the surface. The traditional fix is to start at an angle, letting one part of the rim cut a shallow crescent, then gradually bring the drill upright once that groove has captured it.
A guide is easier and more repeatable. Bits sold with a spring loaded centre pilot locate themselves, and a simple jig, even a scrap of plywood with a hole the right size clamped over the work, holds the rim where you want it for the first few seconds.
Masking tape over the spot helps as well, giving the rim something less slippery to sit on and marking out clearly. On the last few millimetres ease off the pressure, because breaking through under load is what chips the far face and cracks thin tile.
Shanks, threads and what fits your machine
Two mounting systems dominate. A hex shank drops into an ordinary drill chuck and is what most tile bits use. An M14 thread screws directly onto an angle grinder spindle, which is the standard for larger core bits where a grinder gives the speed and grip a drill cannot.
They are not interchangeable without an adapter, and adapters exist in both directions. Check which your machine takes before ordering a set, because a boxed kit of M14 cores is useless with only a drill to hand.
Bi-metal hole saws are a separate family with saw teeth, an arbor and usually a pilot drill, made for wood, plasterboard and metal. They will not survive porcelain and a diamond bit will not cut steel efficiently, so a workshop generally wants both rather than one trying to cover the other.